Purpose
This article outlines how to:- Install SharpHound Enterprise
- Upgrade the SharpHound Enterprise
Prerequisites
- Deployment of a domain-joined Windows server to run the service; see SharpHound Enterprise System Requirements and Deployment Process
- Logged in as a user role, which is authorized to run download SharpHound Enterprise installation binaries; see User Role Definitions
Process
Install SharpHound Enterprise
- Log into your BloodHound Enterprise tenant.
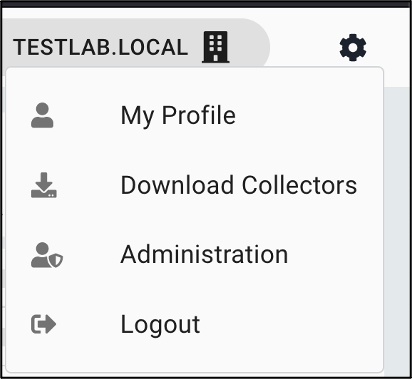
- Click on the gear icon in the top right corner, followed by Download Collectors.
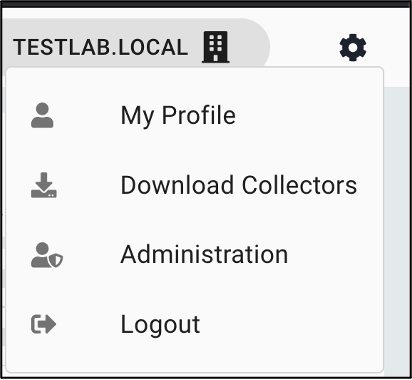
- Click 📥 Download SharpHound v#.#.# (.zip) on the SharpHound version marked “(Latest)”.

- Connect to the server on which the SharpHound Enterprise service should be installed.
- Validate that your SharpHound service account is a member of the local Administrators group.
- Extract the zip archive.
- Run SHSetup-v#.#.#.exe as an Administrator.
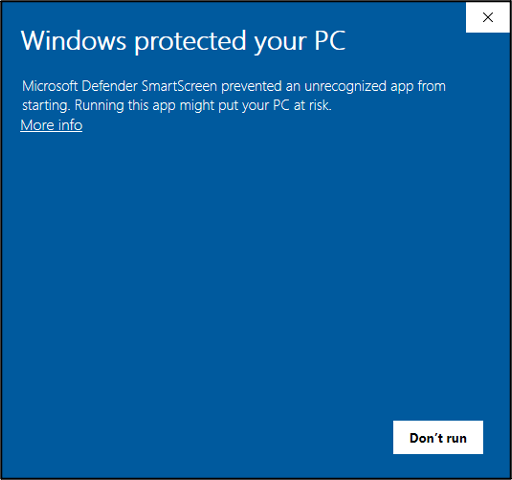
- SmartScreen may display a warning if you are running Microsoft Defender:
- Click More info.
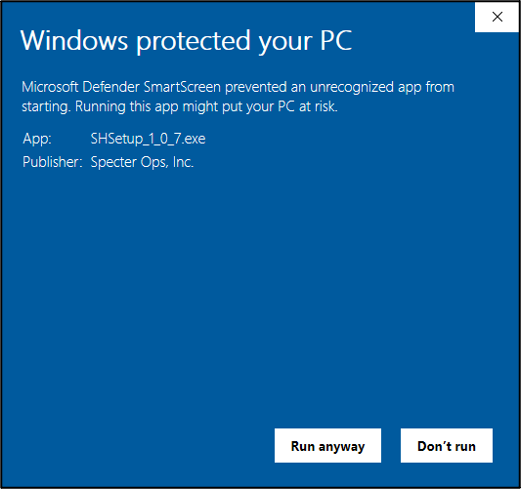
- Validate the publisher shows Specter Ops, Inc. then click Run anyway.
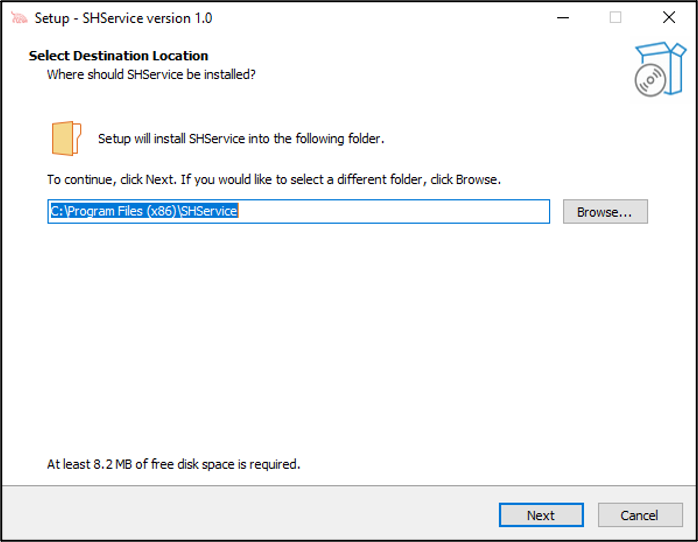
- Choose where to install the service and click Next. We recommend a path protected from low-privileged user writes such as the default “C:\Program Files (x86)\SHService”.
- Click Install.
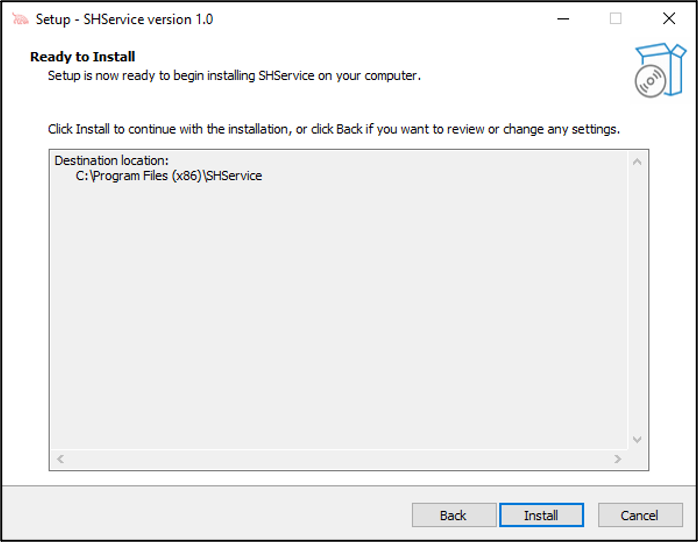
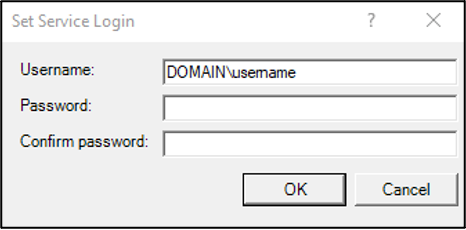
- Provide credentials for your SharpHound service account in the format: DOMAIN\username
- If using a gMSA, according to our Hardening Guidelines, you must provide the credentials for a normal user account with local administrator access to the system, then post-installation, change the service to run as the gMSA as described in Add the gMSA to the SharpHound Enterprise service.
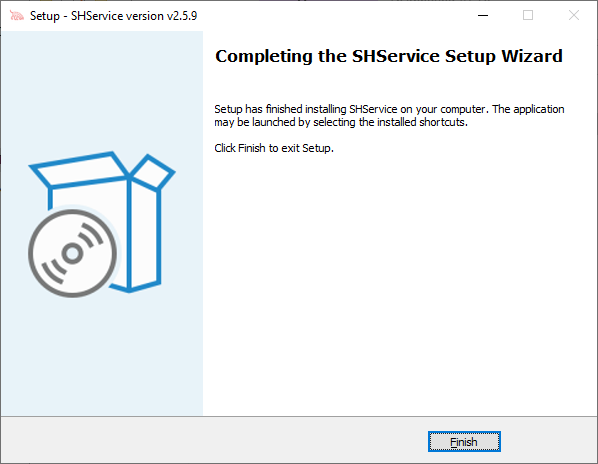
- Click Finish.
- The “SharpHoundDelegator” service has now been installed. If you don’t see the service, see the section I don’t see the SHDelegator Service.
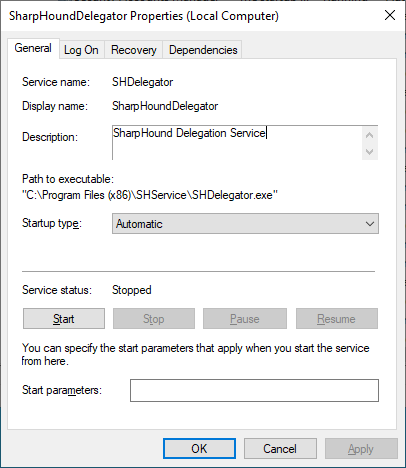
- If using a gMSA, according to our Hardening Guidelines, change the service to run as the gMSA as described in Add the gMSA to the SharpHound Enterprise service.
- Start the service once; the startup will fail but trigger the creation of the configuration and log directory in the service account’s user directory: “%AppData%\Roaming\BloodHoundEnterprise”
- Change the files “settings.json” and “auth.json” in the configuration described in SharpHound Enterprise Local Configuration. In most cases, only the following needs to change:
- In “settings.json”
- Set “RestEndpoint” to the BloodHound Enterprise domain name in the format: “CODENAME.bloodhoundenterprise.io”. This is the domain that the service connects to.
- If using a proxy, set “Proxy” to the proxy name and port in the format: “proxy.acme.com:8080”
- Create a BloodHound Enterprise collector client, and then in “auth.json” set “Token” and “TokenID” to the values given after you created the client. This is the secret that the service authenticates with.
- In “settings.json”
- Start the service. If service start fails see the section The SharpHound Delegator Service won’t start
- Return to BloodHound Enterprise, and you should see the client reporting ”🟢 Ready”

- Perform your scan by either:
Upgrade SharpHound Enterprise
- Log into your BloodHound Enterprise tenant.
- Click on the gear icon in the top right corner, followed by Download Collectors
- Click 📥 Download SharpHound v#.#.# (.zip) on the SharpHound version marked “(Latest)”.

- Connect to the SharpHound Enterprise server.
- Extract the zip archive.
- Run SHSetup-v#.#.#.exe as an Administrator.
- Click Finish.
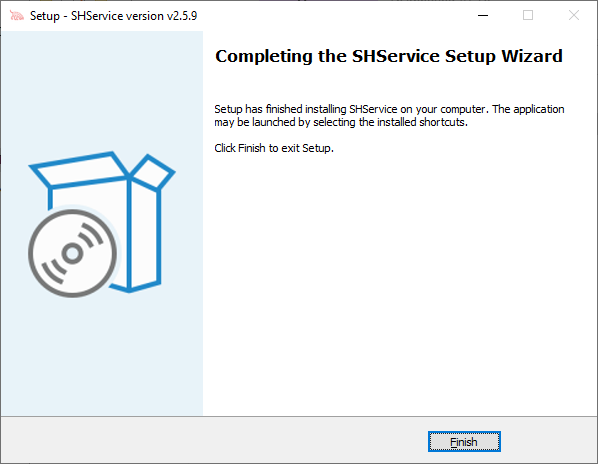
- SharpHound Enterprise has now been upgraded.
- Start the “SharpHound Delegator” service. If you can’t start the service, see the section The SharpHound Delegator Service won’t start.
Common installation issues
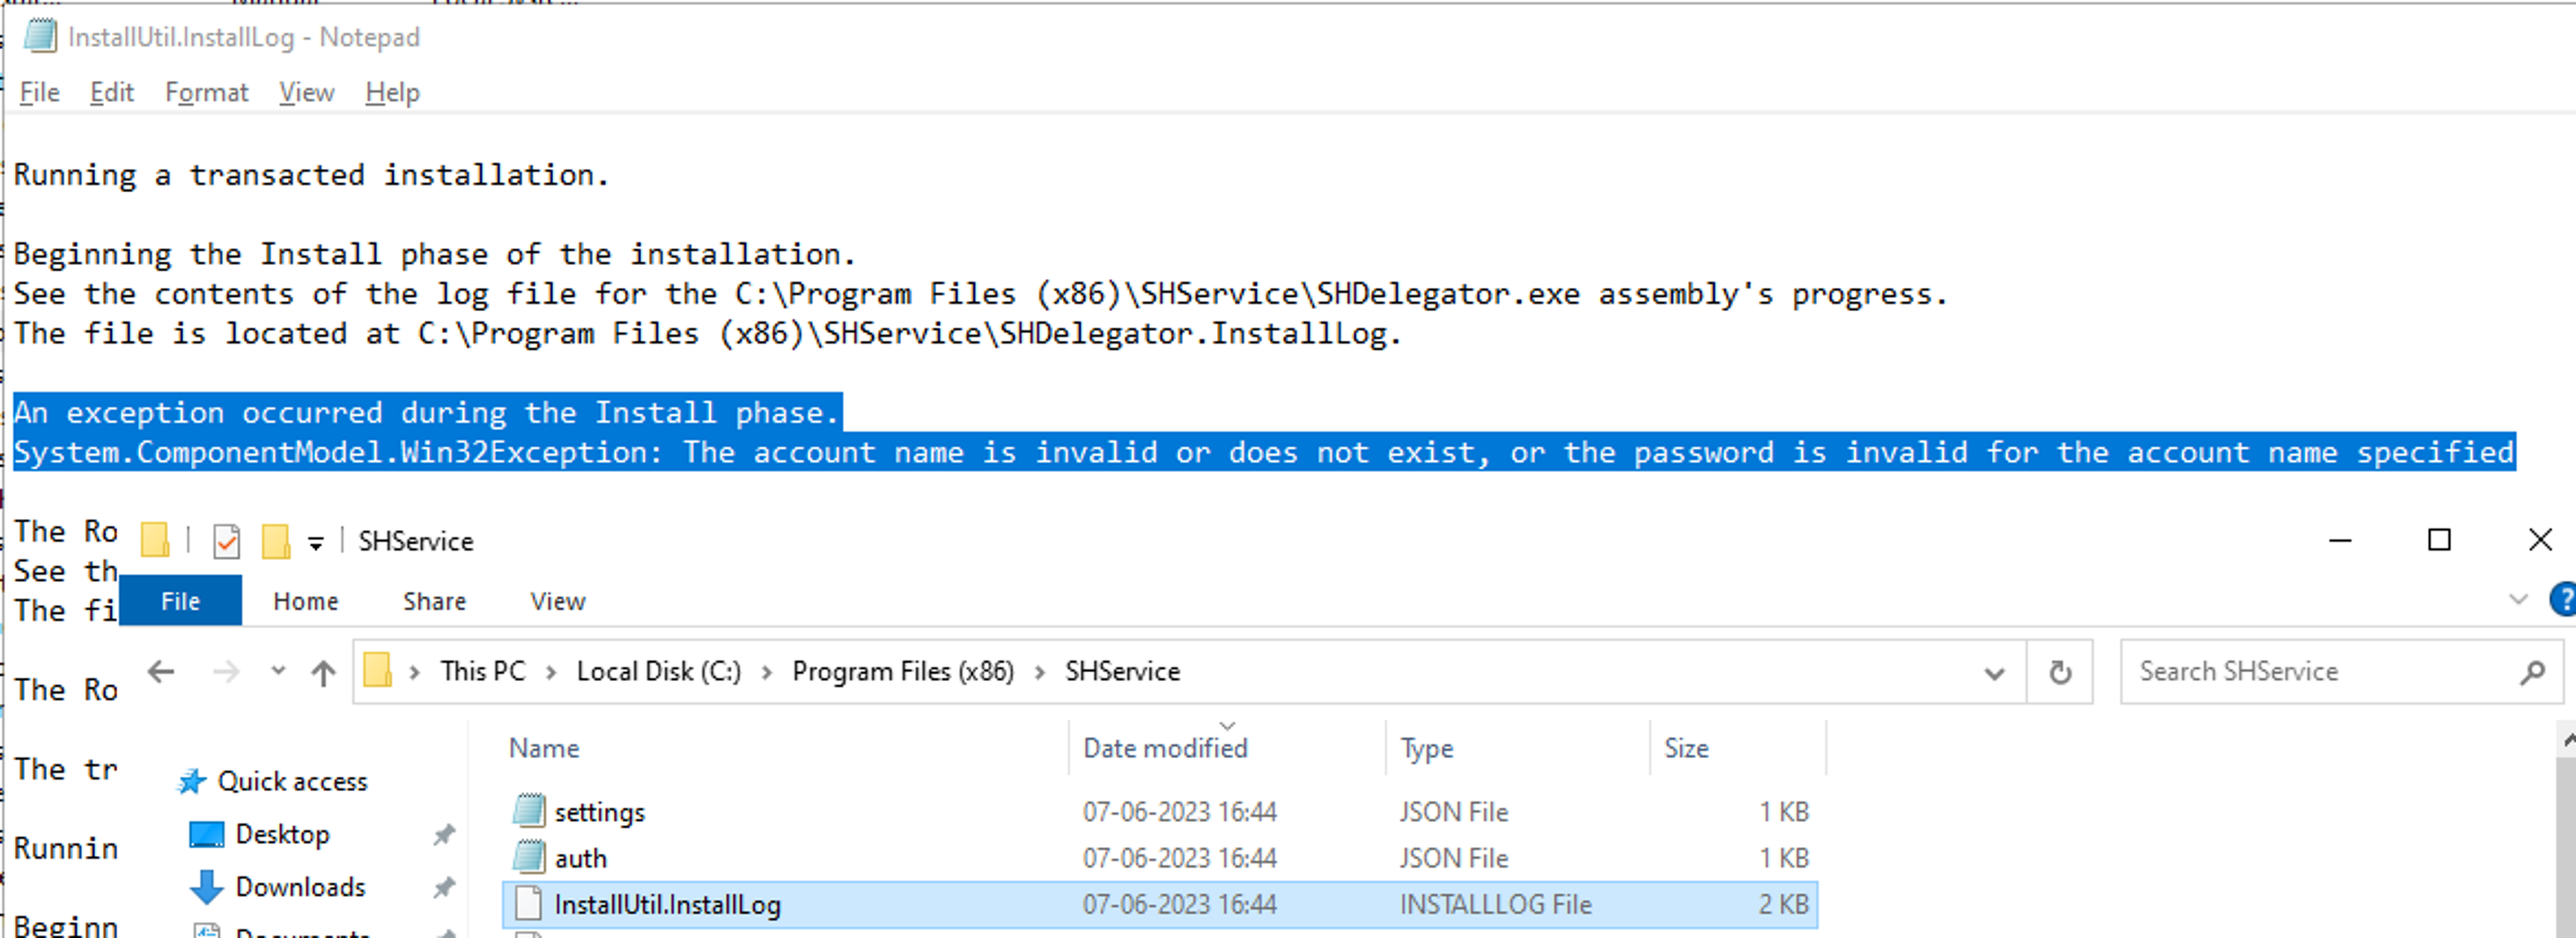
I don’t see the SHDelegator Service
Most frequently, this is the result of one of two issues:- The service account was not added as a local Administrator before installation.
- The password was entered into the credential window incorrectly.
The SharpHound Delegator Service won’t start
Check the “TempDirectory” value in the configuration file “settings.json” described in SharpHound Enterprise Local Configuration. If “TempDirectory” is null, the service account has not been granted local Administrator privileges. Add the service account to the local Administrators group and restart the service. If “TempDirectory” is set to a directory, navigate to that directory, look for service.log, and review the message for errors. Common issues include:- RestEndpoint cannot be resolved
- Validate that you properly configured the RestEndpoint value to match the domain name BloodHound Enterprise tenant in the format: “CODENAME.bloodhoundenterprise.io”
- Validate that you can resolve the domain from the host using the command prompt.
- RestEndpoint cannot be reached (timeout, connection rejected, etc)
- Validate that firewall exclusions to your BloodHound Enterprise tenant have been created appropriately
- If you need an explicit proxy, configure it within settings.json
- Validate TLS 1.2 connectivity to your BloodHound Enterprise tenant over port 443