Create an Enterprise Application
- Login to Azure at https://portal.azure.com
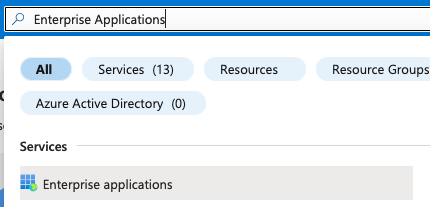
- Navigate to the Enterprise Applications section of Entra ID.
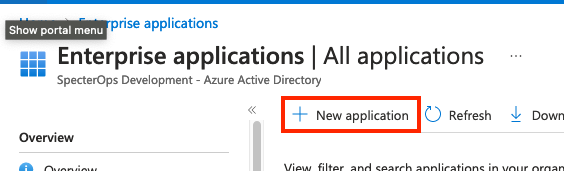
- Click New Application.
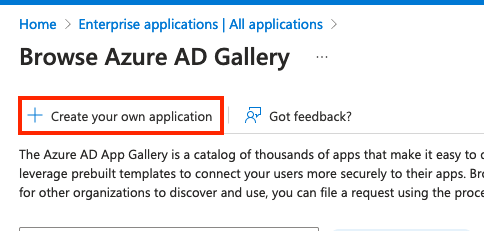
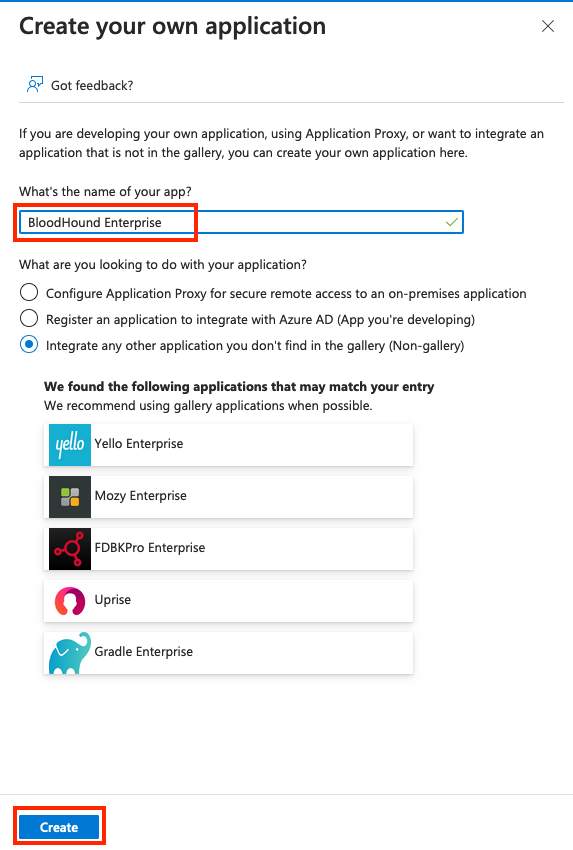
- Click Create your own application.
- Provide a name for your application and click Create.
Configure Single Sign-On Settings
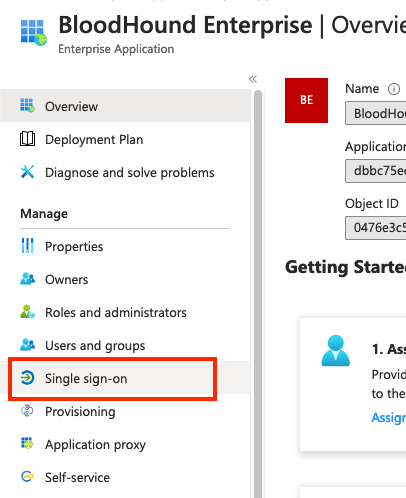
- Your browser should redirect you to your newly created application. Click on Single sign-on.
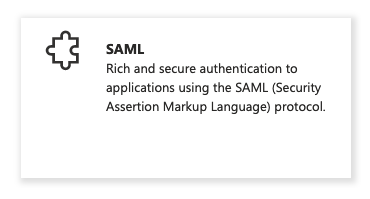
- Click on SAML.
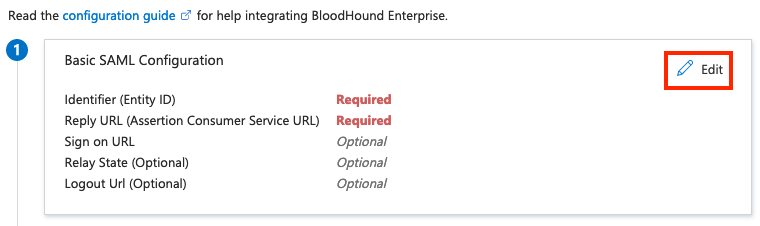
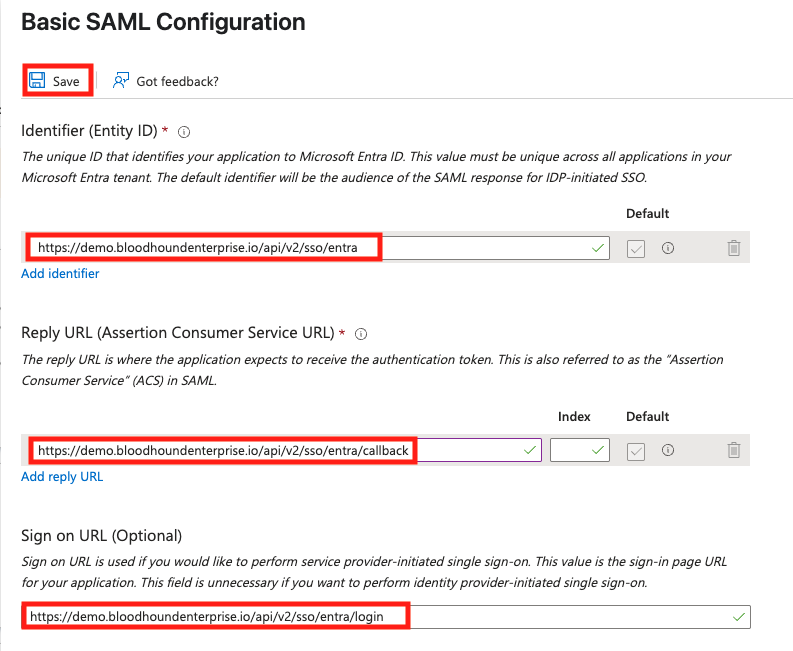
- Click Edit under the Basic SAML Configuration section.
- Configure SAML. The following screenshot shows the tenant codename is “demo” and the provider name is “entra”.
- Azure will inform you the settings have saved successfully.
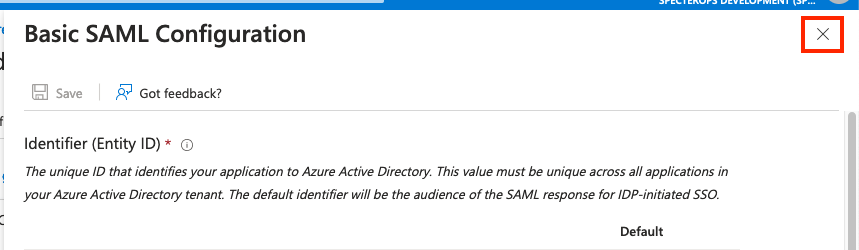
- Click the X to close the dialog.
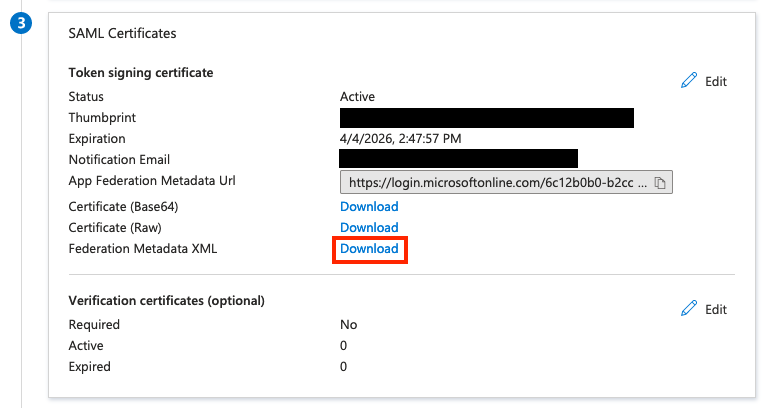
- Scroll down to the SAML Certificates section and download the Metadata XML.
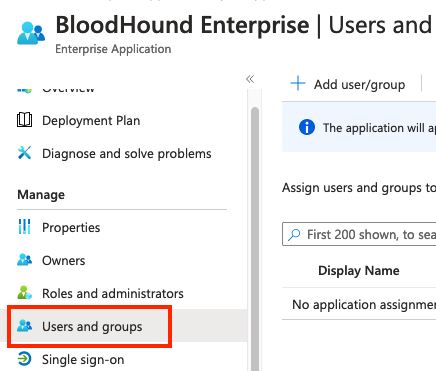
- Use the Users and Groups section to configure groups and users which you would like to grant access to BloodHound Enterprise.
- Use the downloaded metadata.xml file and follow the instructions at SAML in BloodHound Enterprise to Create the SAML Configuration in BloodHound.
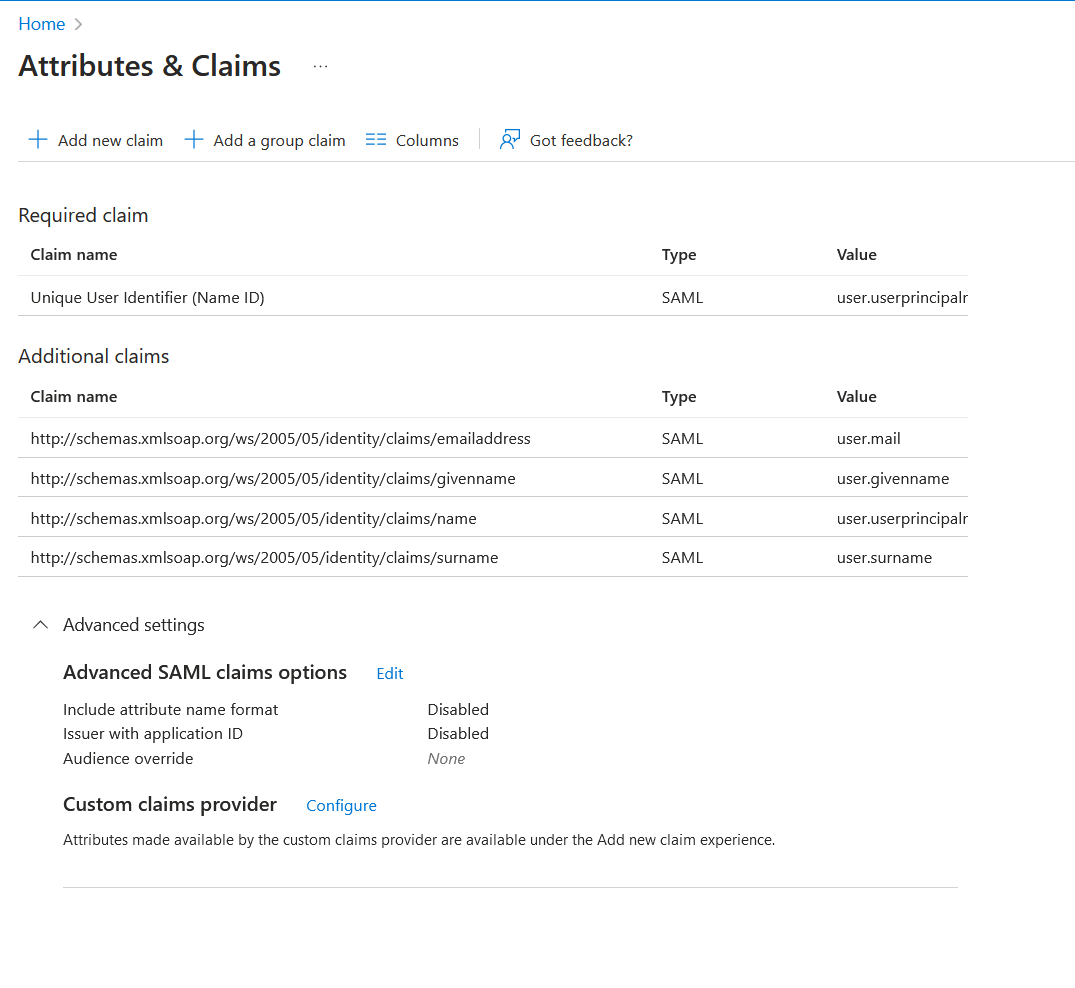
Troubleshooting
Verify your attributes and claims use a proper schema in the claim name, and that you have a properly mapped claim for “user.mail” as in the example below. An indicator that this is necessary is when an authentication attempt returns the response: “assertion does not meet requirements for user lookup”.