SpecterOps home page
Search...
⌘K
Ask AI
Support
Contact Us
Contact Us
Search...
Navigation
Authentication and Authorization
Enable/Disable Multi-Factor Authentication
Home
BloodHound
API Reference
Webinars
Community
Query Library
OpenGraph Library
Blog
Get Started with BloodHound
Introduction to BloodHound
Quickstart
Security Boundaries
Install a Data Collector
Overview
Install SharpHound
Install AzureHound
Collect Data
Overview
Collection Permissions
BloodHound Enterprise Collection
Community Edition Collection
OpenGraph
Overview
Best Practices
OpenGraph Schema
OpenGraph Custom Icons
OpenGraph API
OpenGraph Library
OpenGraph Incentive Program
OpenGraph FAQ
Analyze Attack Path Data
Overview
Privilege Zones
Posture Page
BloodHound Configuration
Accept Attack Path Findings
Search With Cypher
Supported Cypher Syntax
Explore -> Search for Objects
Manage BloodHound
Overview
BloodHound Configuration Supplement
BloodHound Enterprise Compliance Framework
Authentication and Authorization
Overview
Administer Users and Roles
Enable/Disable Multi-Factor Authentication
OIDC in BloodHound
SAML in BloodHound
SAML: ADFS Configuration
SAML: Auth0 Configuration
SAML: Entra ID Configuration
SAML: Google IDP Configuration
SAML: Okta Configuration
Securing BloodHound and collectors
API & Integrations
Overview
BloodHound API
Integrations
Resources
Resources
Nodes
Edges
Glossary
Community and Support
Release Notes
Legacy BloodHound
On this page
Purpose
Process
Enabling MFA
Disabling MFA
Outcome
Authentication and Authorization
Enable/Disable Multi-Factor Authentication
Purpose
This article describes how to enable/disable Multi-Factor Authentication (MFA) for a BloodHound user configured for built-in authentication.
Process
Log into your BloodHound tenant.
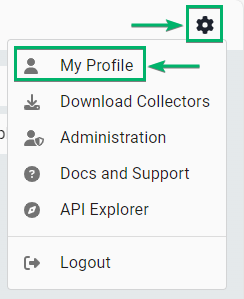
In the top right, click settings
My Profile
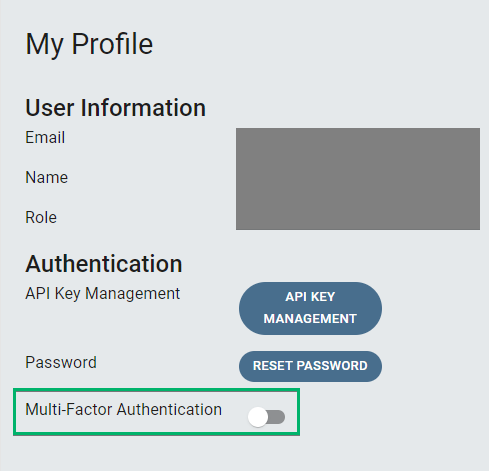
Toggle the Multi-Factor Authentication switch
Continue in one of the two headings below:
Enabling MFA
Disabling MFA
Enabling MFA
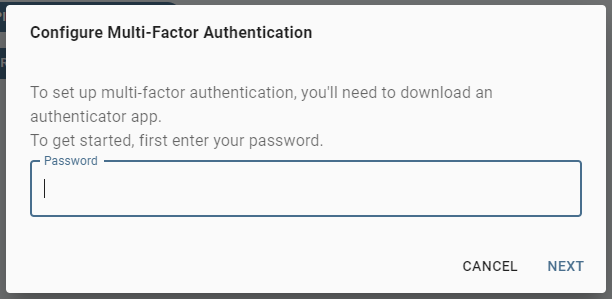
In the pop-up, confirm your user’s password and click on
Next
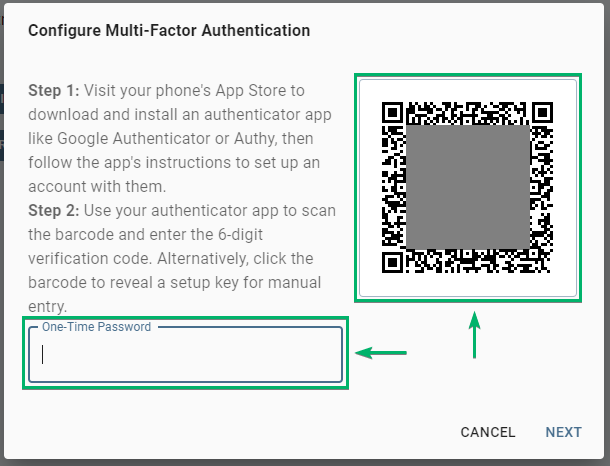
Scan the QR code with your multi-factor authentication application, enter the 6-digit one-time password, and click
Next
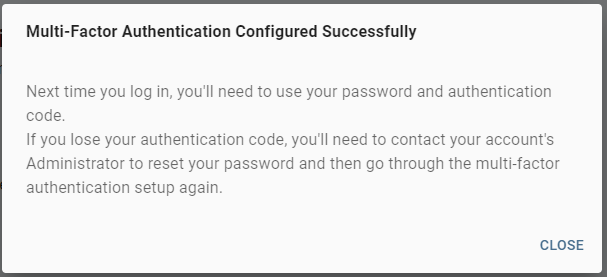
Multi-factor authentication is now enabled, click
Close
Disabling MFA
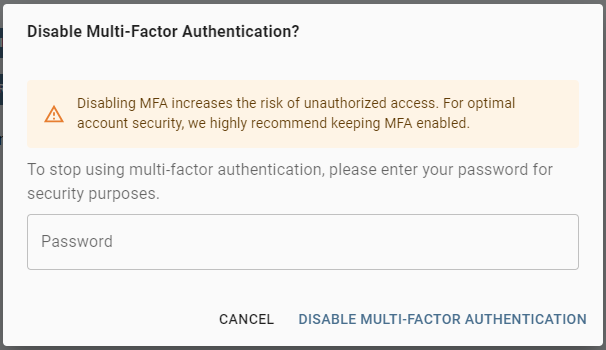
In the pop-up, confirm your user’s password and click on
Disable Multi-Factor Authentication
Multi-factor authentication is now disabled
Outcome
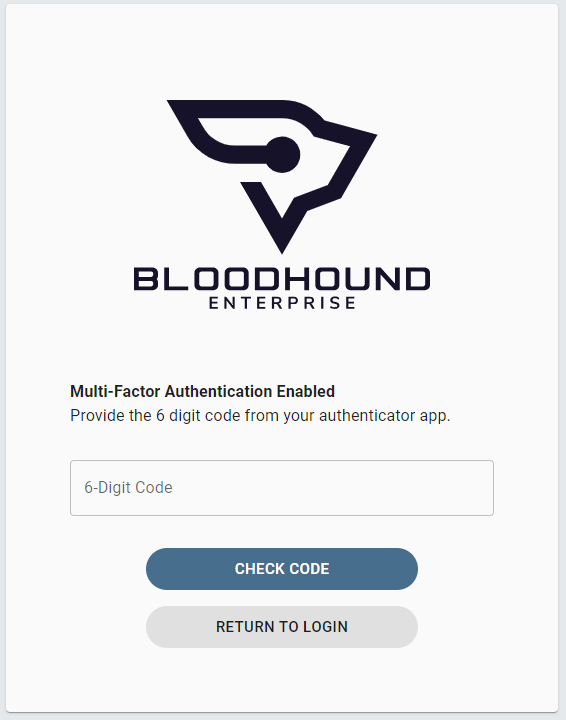
If enabling MFA, next time you log in, you’ll need to use both your password and authentication code.
If you lose your authentication code device, you’ll need to contact an Administrator of your BloodHound tenant who can reset your MFA configuration.
Administer Users and Roles
OIDC in BloodHound
Assistant
Responses are generated using AI and may contain mistakes.