Understand the investigation structure
The integration organizes BloodHound Enterprise findings into Google SecOps cases, alerts, and events.| Object | Purpose |
|---|---|
| Case | Groups related BloodHound Enterprise findings for investigation. With alert grouping configured, Google SecOps groups related alerts into one case per source domain. |
| Alert | Represents a unique BloodHound Enterprise finding or path title within a case. |
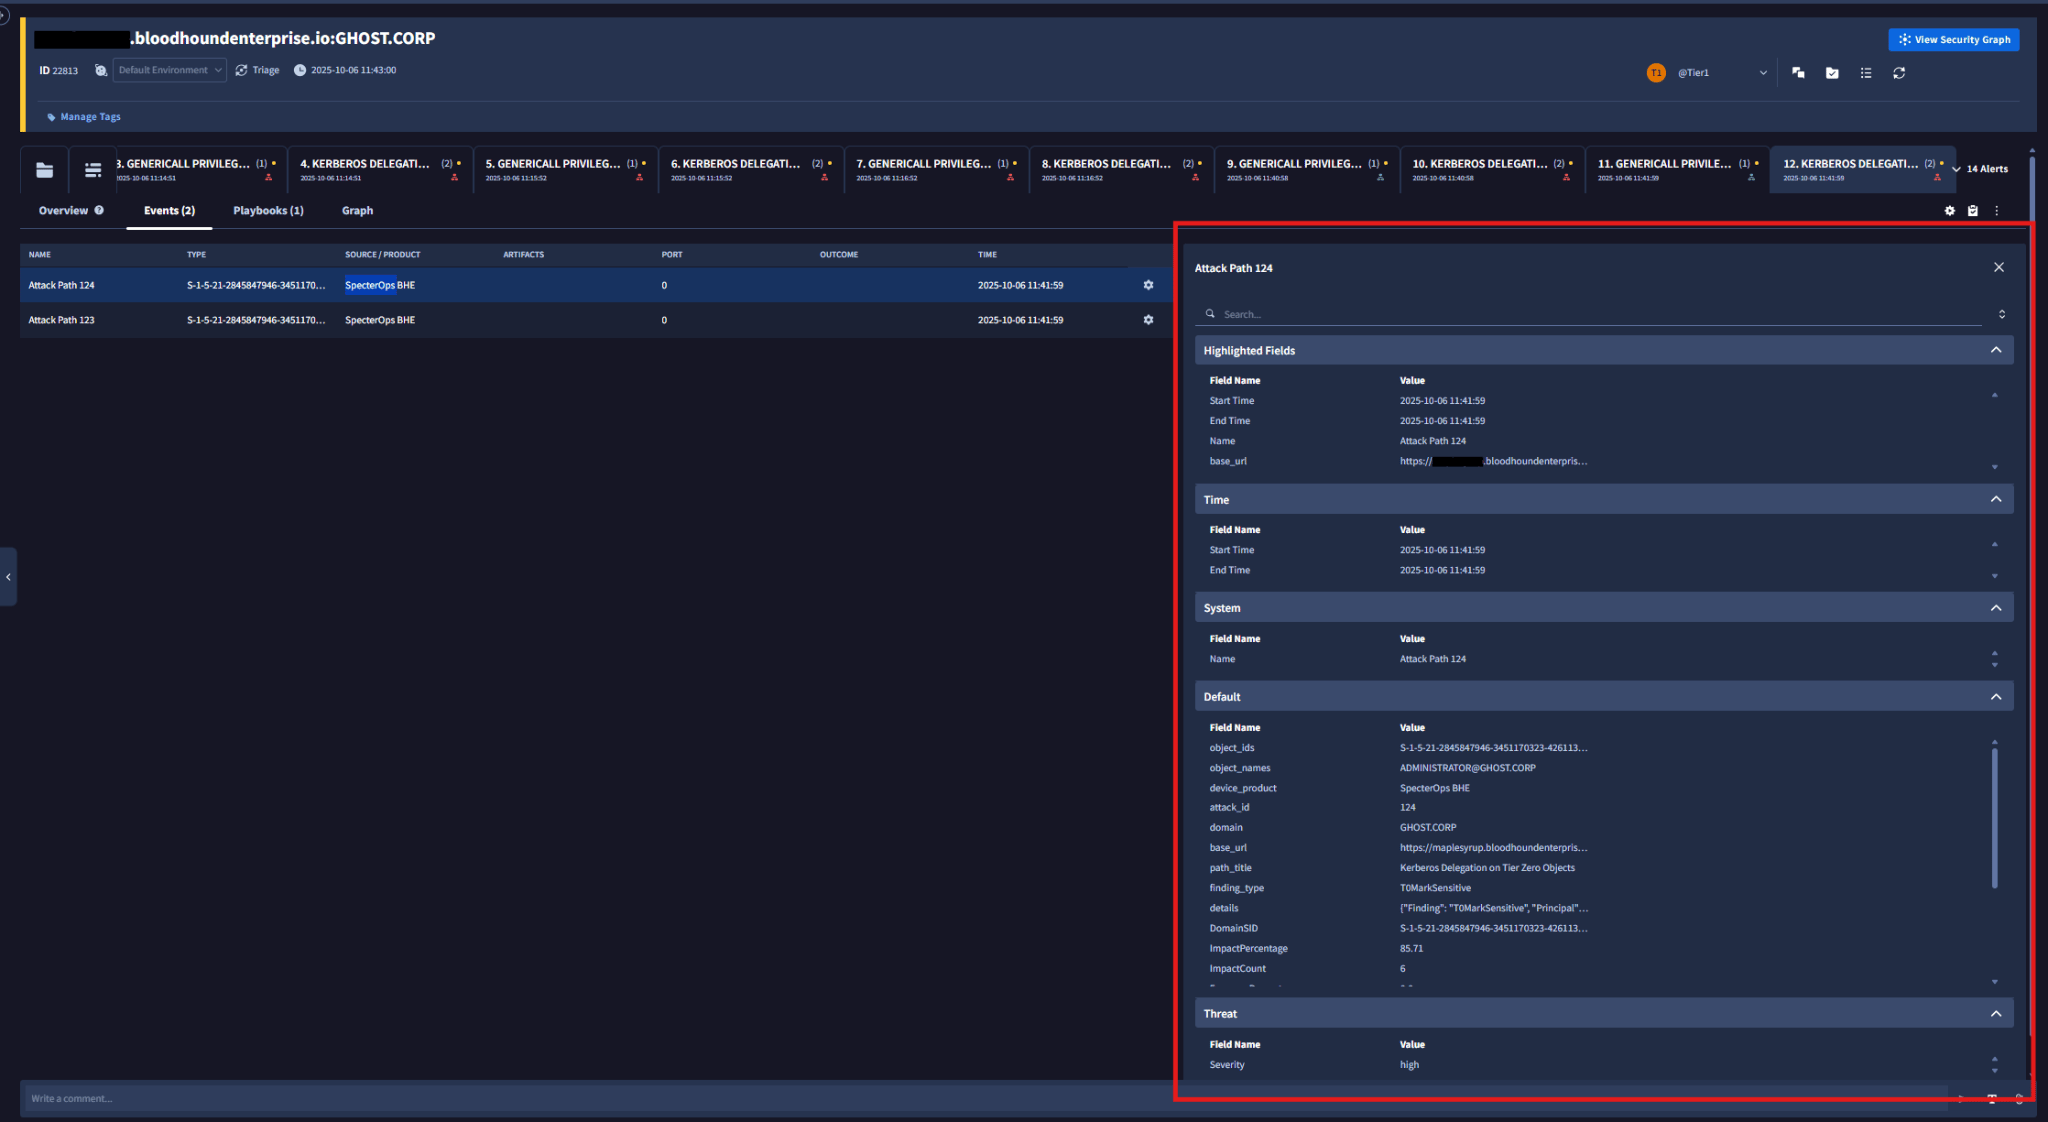
| Event | Captures an individual Attack Path occurrence and its supporting details, such as the involved nodes and object IDs. |
Review cases, alerts, and events
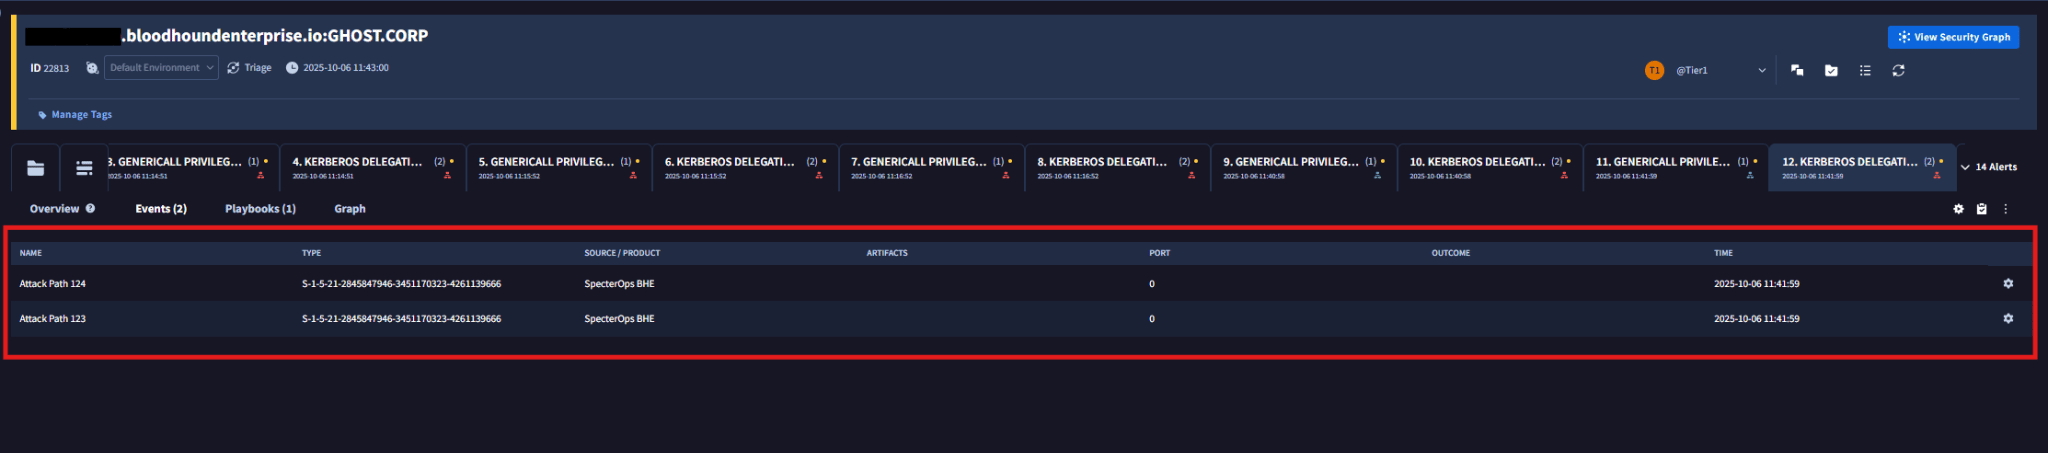
Use the following workflow to inspect the findings created by the connector.Open the Cases page
With alert grouping configured, a case is created for each unique domain. The case contains alerts for each distinct BloodHound Enterprise finding or path title, and the events under those alerts capture the details of each Attack Path occurrence.
- Open your Google SecOps dashboard.
- Select Cases from the navigation menu.
- Review the list of cases created by the BloodHound Enterprise connector.
Inspect alerts in a case
Each alert corresponds to a distinct BloodHound Enterprise finding or path title.
- Open a case for the domain that you want to investigate.
-
Review the alerts in that case.

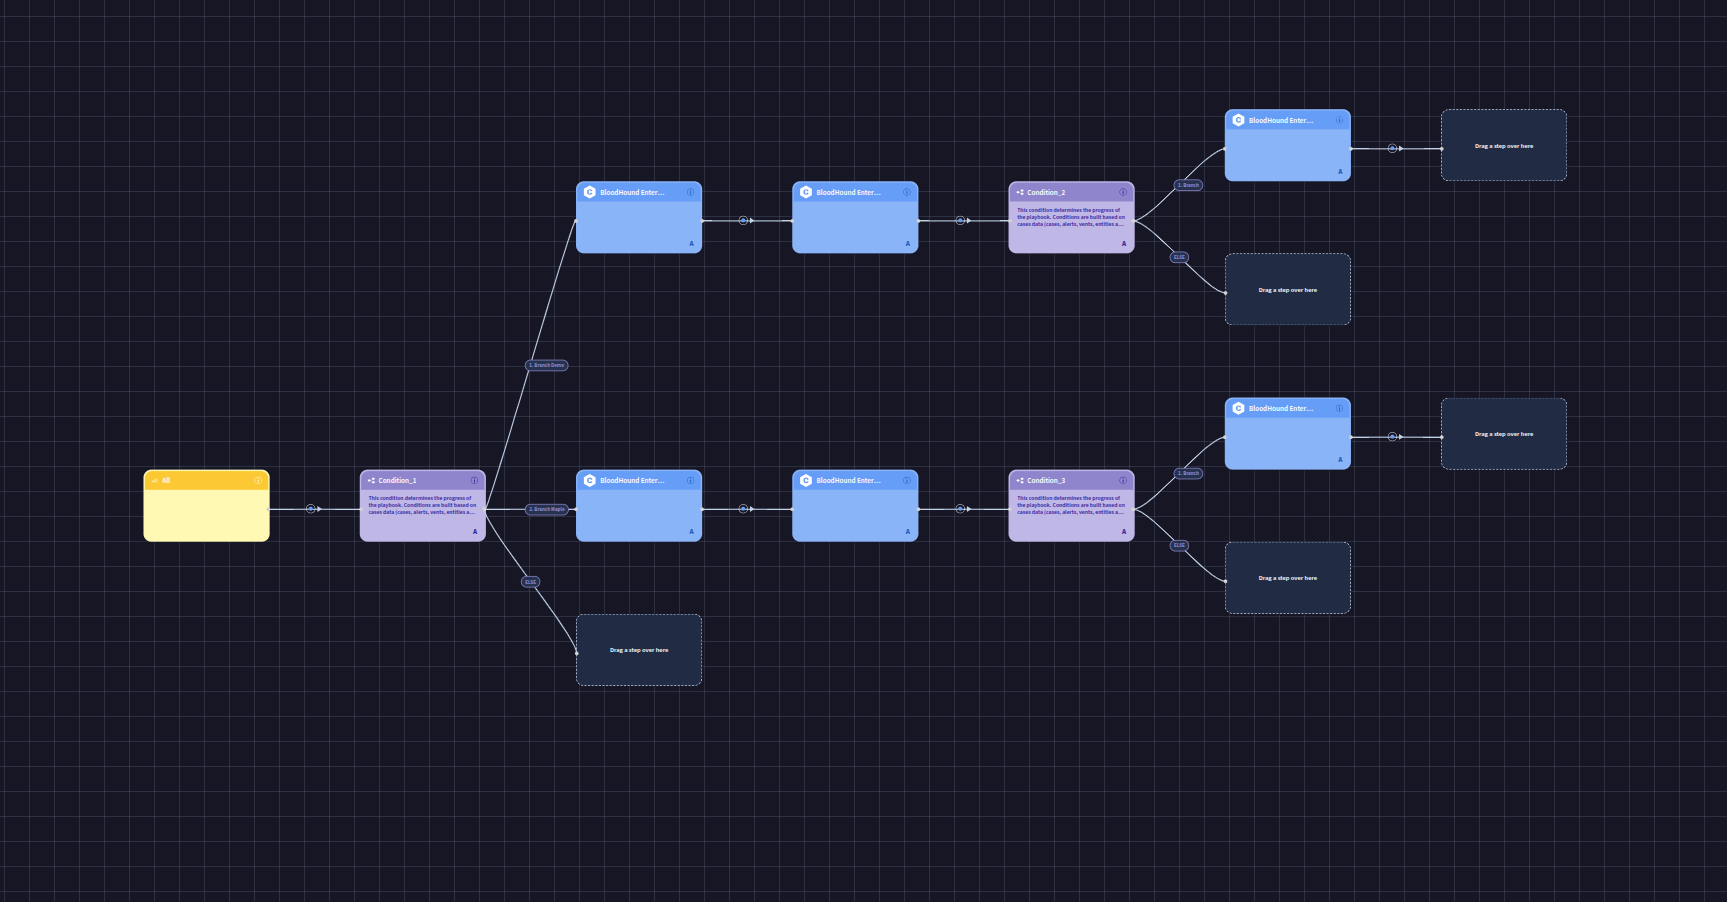
Work with playbooks
The BloodHound Attack Path Alerts Playbook can run against generated cases. You can also create your own playbook if you want to extend the workflow in Google SecOps.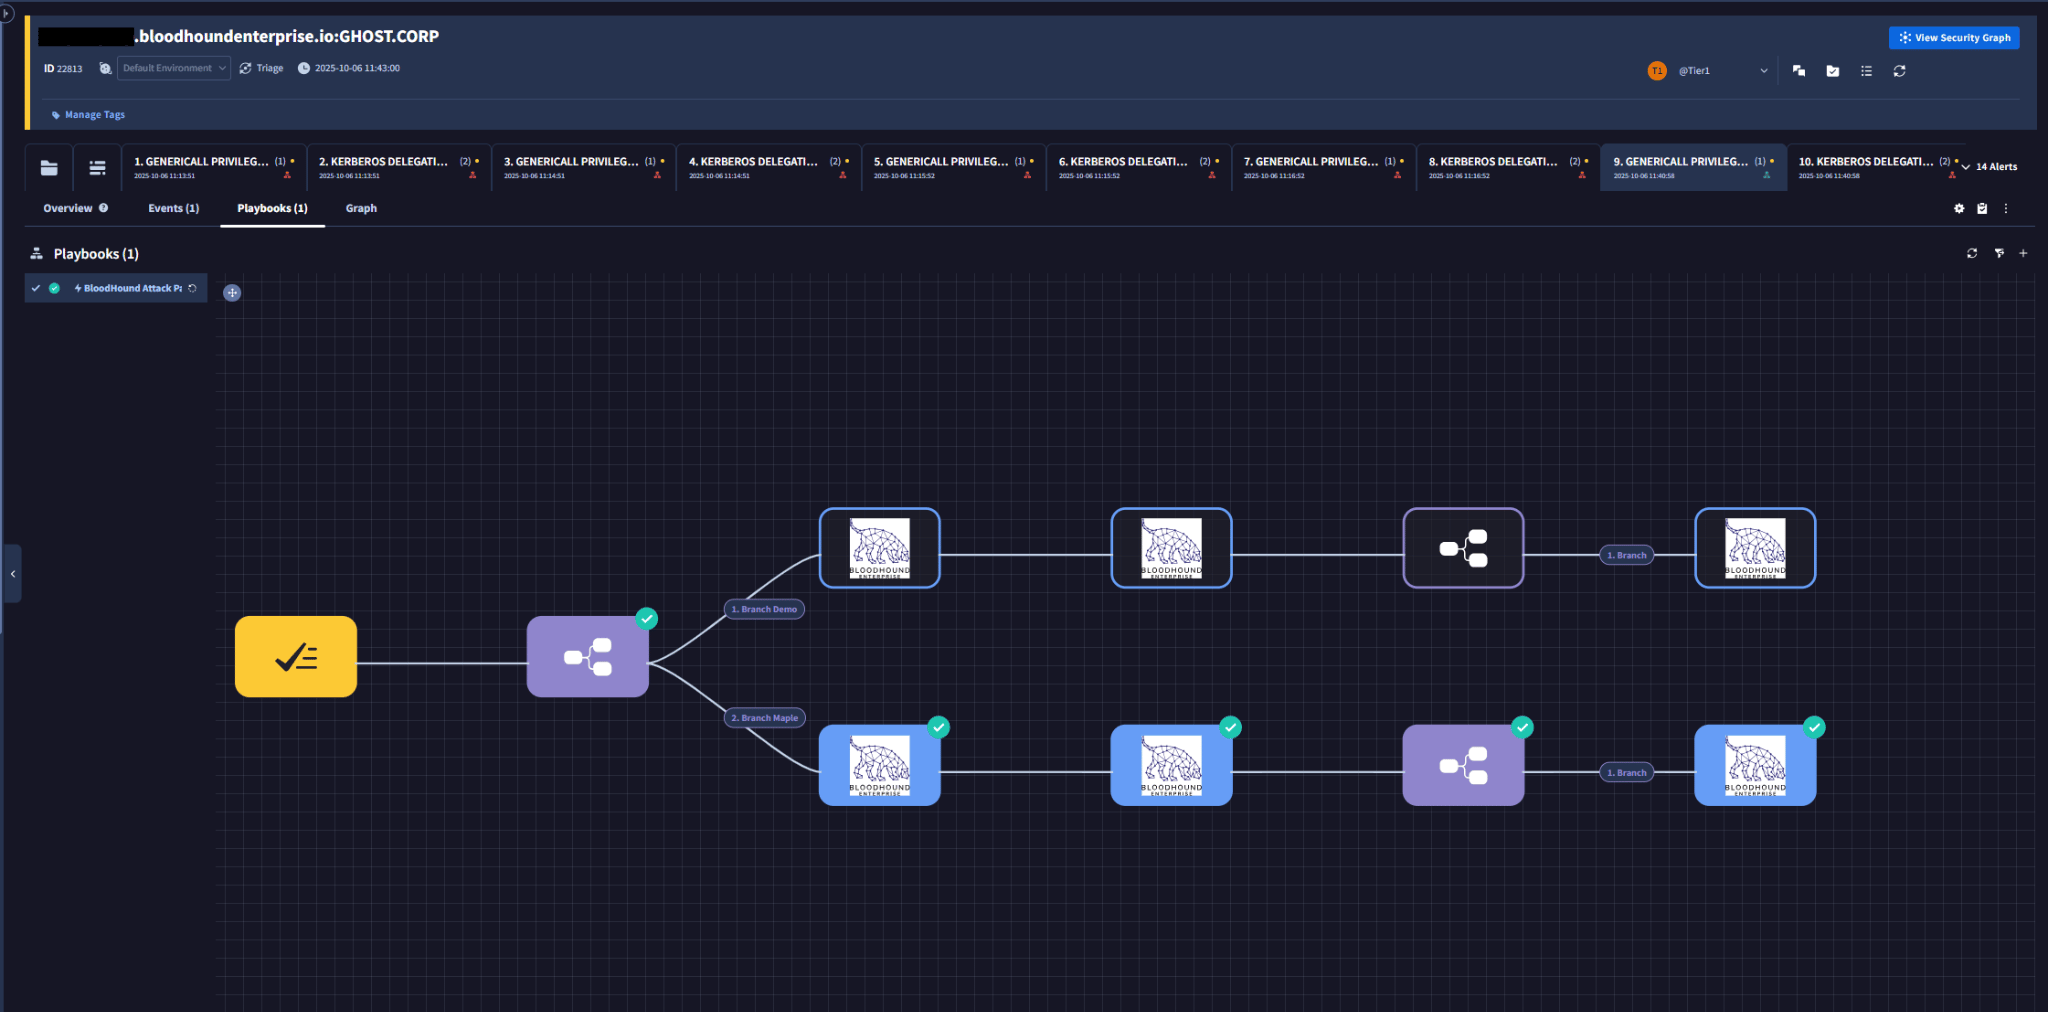
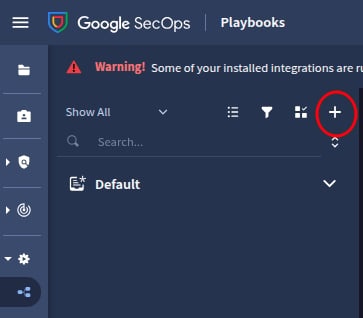
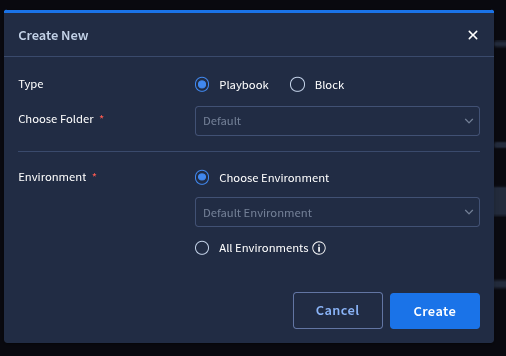
Create a custom playbook
- Go to Response > Playbooks.
-
Click the add (+) icon.
-
Select Playbook as the type and click Create.
-
Build the custom playbook by adding components from Actions, Triggers, Blocks, and Flows.

Run BloodHound Enterprise actions
The integration includes on-demand actions that help analysts enrich investigations with data from BloodHound Enterprise.| Action | Description |
|---|---|
| Ping | Verifies connectivity to the BloodHound Enterprise server. |
| Get Object Id | Retrieves the object ID for a named node, such as a user, group, or computer. |
| Does Path Exist | Checks whether a shortest path exists between two specified nodes in the BloodHound Enterprise graph. |
| Fetch Assets | Retrieves detailed information about an asset based on its object ID. |
| Path Does Not Exist | Logs that no shortest path exists between the specified nodes. |