

 This guide provides step-by-step instructions for installing and configuring a BloodHound Enterprise instance with the embedded cluster installer.
The embedded cluster installer bundles a Kubernetes distribution (k0s) with the BloodHound Enterprise application, so you can deploy everything on a single Linux host without needing to set up Kubernetes separately.
This guide provides step-by-step instructions for installing and configuring a BloodHound Enterprise instance with the embedded cluster installer.
The embedded cluster installer bundles a Kubernetes distribution (k0s) with the BloodHound Enterprise application, so you can deploy everything on a single Linux host without needing to set up Kubernetes separately.
Pre-install checklist
The following checklist summarizes the install-blocking gates and pre-deployment work that must be completed before running the installer.For detailed host sizing, collector specifications, supported filesystems, and kernel versions, see the full system requirements.
Web-based installer
The web-based installer provides an interactive setup experience through a web interface. It guides you through configuration steps such as domain setup, certificate management, and database connectivity.Configure install options
The web-based installer is available through the SpecterOps - BloodHound Enterprise Portal. You’ll work with two interfaces during installation:- The Installer tab in the portal generates the download and install commands you run on your Linux host. The Update tab in the portal tracks active and inactive online installations.
- The Installation Wizard is a companion UI served from your Linux host on port
30080. After the initial install completes, you use the Installation Wizard to finish configuration (domain, certificates, database) and run .
1
Navigate to the web-based installer
If you don’t have access to the portal, contact your team administrator or your BloodHound Enterprise account team to request an invitation.
- Log in to the SpecterOps - BloodHound Enterprise Portal.
-
Click the Install tab at the top of the page to open the Installation Guide.
The installation options displayed on this page depend on the licensing associated with your account.
2
Choose installation options
The first step prompts you to choose your installation options, such as network availability and whether to show instructions for relocating images to a private registry.
- Enter a name for your BloodHound Enterprise instance.
-
Choose one of the following Network Availability options:
If you choose the proxy option, a Configure proxy URL field appears on the next page of the installer where you can enter your proxy URL.The installer also adds
--proxy $YOUR_PROXY_URLto the download and install commands on the next page to ensure the installer can access the internet through your proxy. -
Click the toggle for Show instructions to relocate images to your private registry if your environment requires the cluster to pull container images from a private registry you control.
This is typically required for air-gapped or restricted networks, or to meet internal supply-chain and compliance requirements.
If you choose this option, the next page provides a field for entering your private registry URL and instructions for running the necessary commands on your Linux host to:
- Pull the necessary container images
- Tag them with your private registry URL
- Push them to your registry
--registry $YOUR_REGISTRY_URLto the install command on the next page to ensure the cluster pulls images from your registry during installation.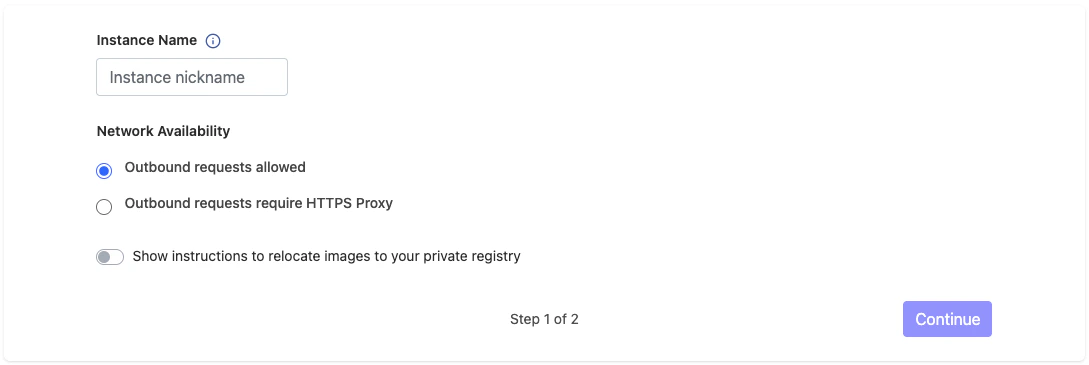
- Click Continue.
Install on the Linux host
The installation instructions page generates the exact download and install commands for your release, including a signed URL, a short-lived bearer token, and your specific version. The following screenshot shows an example of the install instructions page in the portal, which provides the commands you run on your Linux host to download and install BloodHound Enterprise.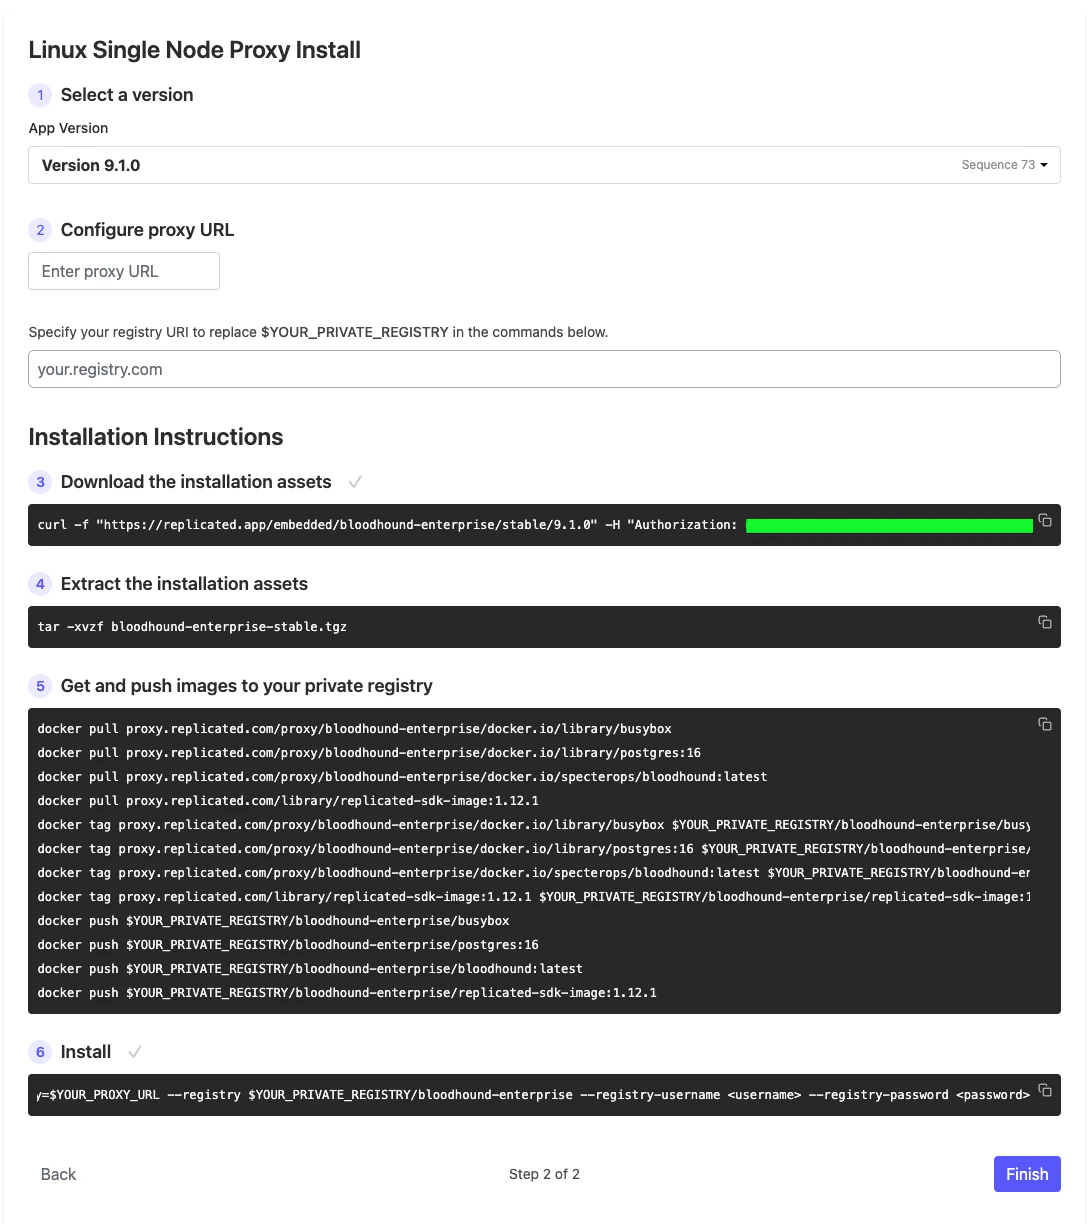
1
Configure the install command in the portal
On the installation instructions page, complete the following fields before copying the commands:
- In the Select Version field, choose the version of BloodHound Enterprise you want to install.
-
If you selected the proxy option in the previous installation options, enter your proxy URL in the Configure proxy URL field.
The installer uses this URL to access the internet for downloading container images and other dependencies. The URL must be accessible from the Linux host where you run the installer.
-
If you selected the private registry option in the previous installation options, enter your registry URL in the provided field.
The installer uses this URL to pull container images during installation. The URL must be accessible from the Linux host where you run the installer and from the Kubernetes cluster.
2
SSH into the Linux host
SSH into the Linux host where you want to install BloodHound Enterprise.
3
Download the installer archive
From the installation instructions page, copy and run the command to download the archive of installation assets on your Linux host.
4
Extract the installer archive
From the installation instructions page, copy and run the command to extract the archive of installation assets on your Linux host.Example:
The installer archive contains the embedded cluster application and all necessary dependencies, including the k0s Kubernetes distribution and your license file. The installer will set up everything for you on a single Linux host.
5
Copy installation assets to your home directory
Copy all files from the
assets/ directory to the home directory on your Linux host.Example:6
Run the install command
From the installation instructions page, copy and run the install command on your Linux host, providing the path to your license file.Example:
After extraction, your
license.yaml file is present alongside all installation assets.7
Set the Installation Wizard password
When prompted on the Linux host, enter an admin password.
This is the Installation Wizard password. You use it to log in to the Installation Wizard later.
8
Generate the Installation Wizard certificate
When the installer prompts you to generate a self-signed certificate for the Installation Wizard, accept the prompt.The installer uses this certificate to serve the Installation Wizard over HTTPS on port
30080. The install fails if you decline.The install command doesn’t accept a flag for providing your own certificate at this stage. You’ll be able to upload a certificate for your BloodHound Enterprise instance later in the Installation Wizard’s Certificates step.
9
Note the Installation Wizard URL
After the installation completes, the installer prints the Installation Wizard URL:As mentioned in the pre-installation checklist, the Installation Wizard listens on port
30080. If you haven’t already done so, expose this port on the Linux host.Don’t click Finish on the installation instructions page yet; you’ll do that after completing the Installation Wizard in the next section.
Configure the environment
The Installation Wizard guides you through the final configuration steps to complete the installation. Follow the prompts to enter the necessary information and complete each step.1
Log in to the Installation Wizard
The wizard guides you through the final configuration steps and .Open the Installation Wizard URL in a browser and enter the admin password that you set when you ran the install command on your Linux host.
Browsers display a certificate warning at
https://<linux-hostname-or-ip>:30080 because the Installation Wizard uses the self-signed certificate generated during install; this is expected.If your browser blocks the self-signed certificate, export the certificate presented on port 30080, add it to the trusted root/intermediate certificate store as appropriate, then reload the page.2
Domain Configuration
Use a lowercase hostname with no underscores. Kubernetes ingress rules require lowercase hostnames.
- For production deployments, this should match the DNS A record you created for the BloodHound Enterprise FQDN in the pre-install checklist.
-
For testing purposes, this can be a hostname that resolves to the Linux host’s IP address in your local
/etc/hostsfile. For example: Port
Port443must be open on the Linux host and reachable from the browser you use to access the BloodHound Enterprise application.
3
Application Access
Configure how users reach the BloodHound Enterprise application.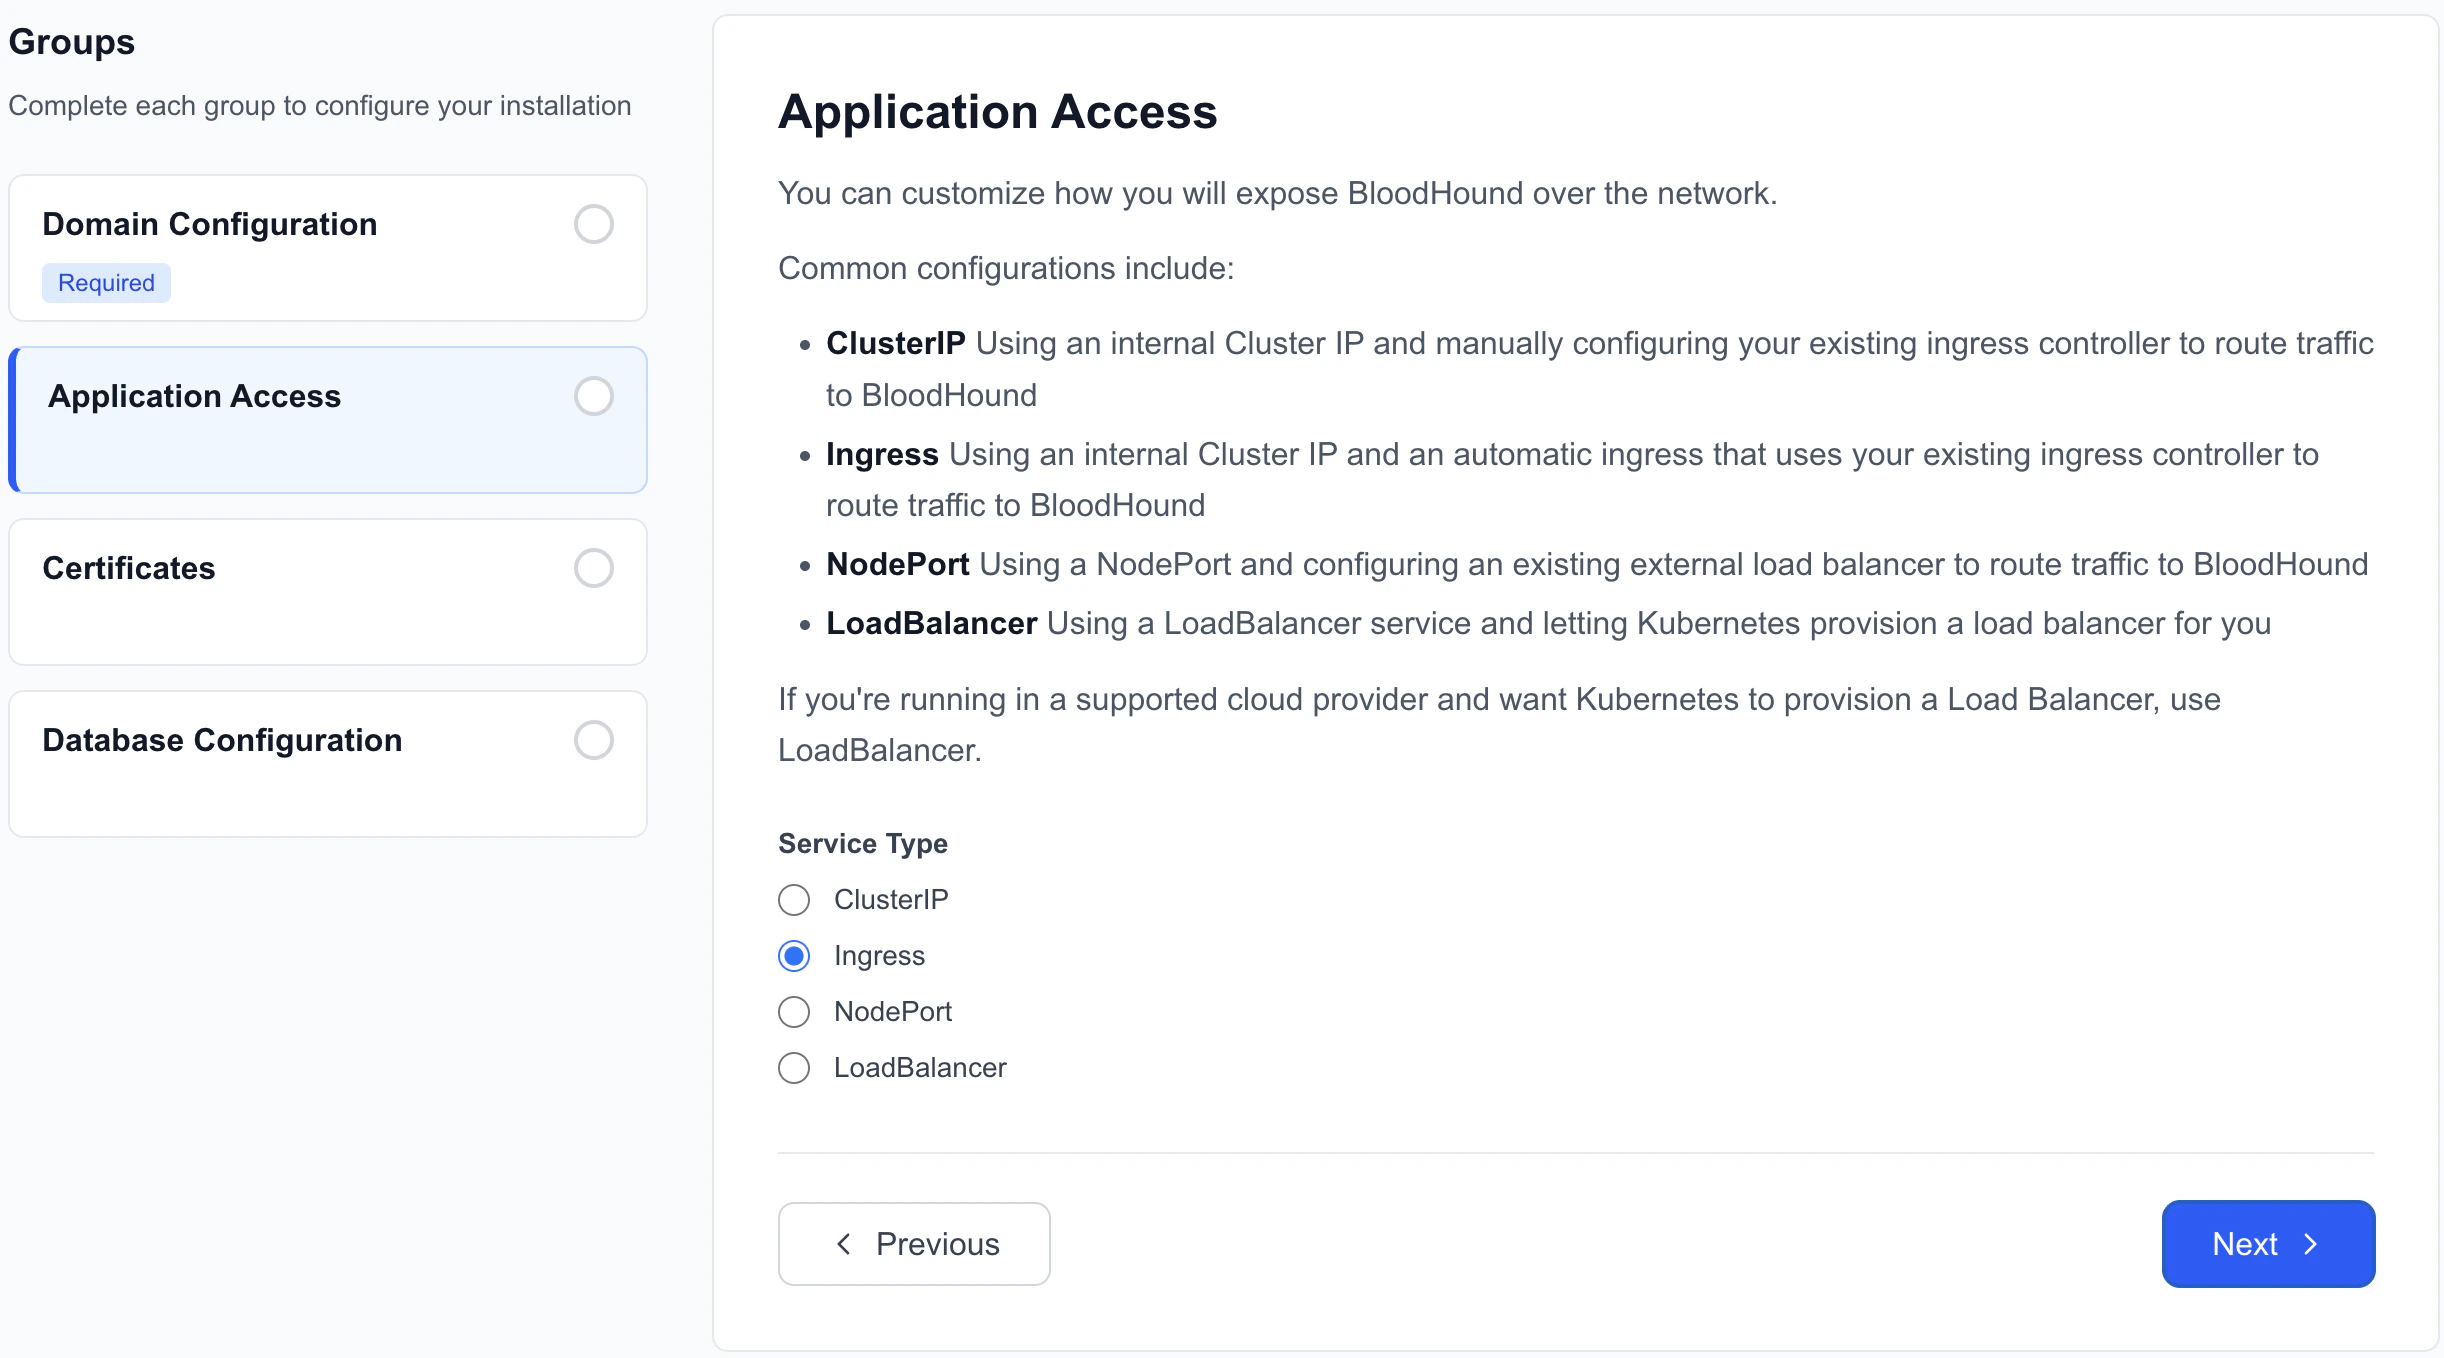
Recommended default: Select Ingress for most deployments.Why: The embedded cluster includes its own ingress controller for the BloodHound Enterprise FQDN. Ingress uses that built-in path and lets the installer handle HTTPS termination on port
443 with the certificate you configure in the next step.Choose ClusterIP, NodePort, or LoadBalancer only if your environment already requires one of those Kubernetes service exposure patterns or you are integrating with your own frontend networking layer.4
Certificates
Choose whether to have the installer generate a TLS certificate for HTTPS access to your BloodHound Enterprise instance or upload your own.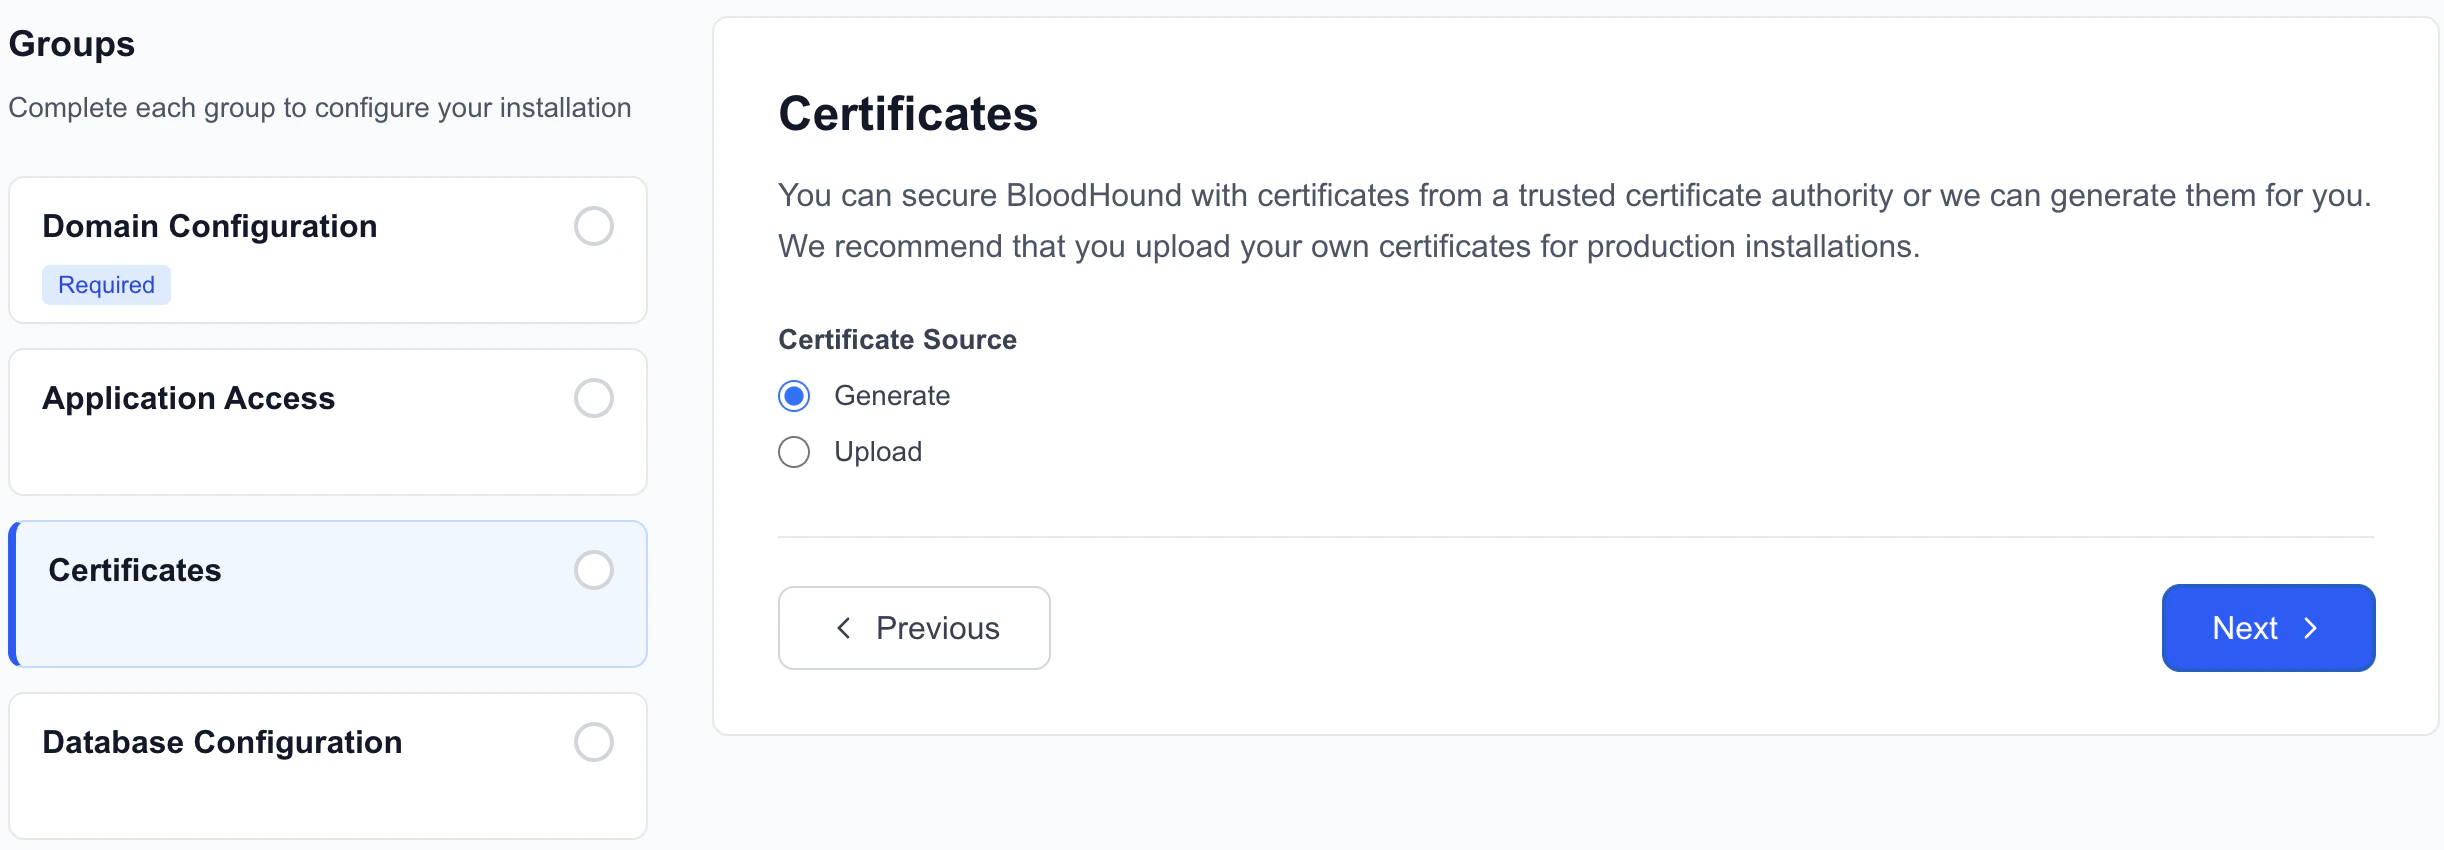
This certificate is used by the embedded cluster ingress that serves the BloodHound Enterprise application on port
443.Upload your own certificate if your organization requires a certificate issued by your internal or public certificate authority.5
Database Configuration
Choose between the embedded PostgreSQL database or provide connection details for an external PostgreSQL database.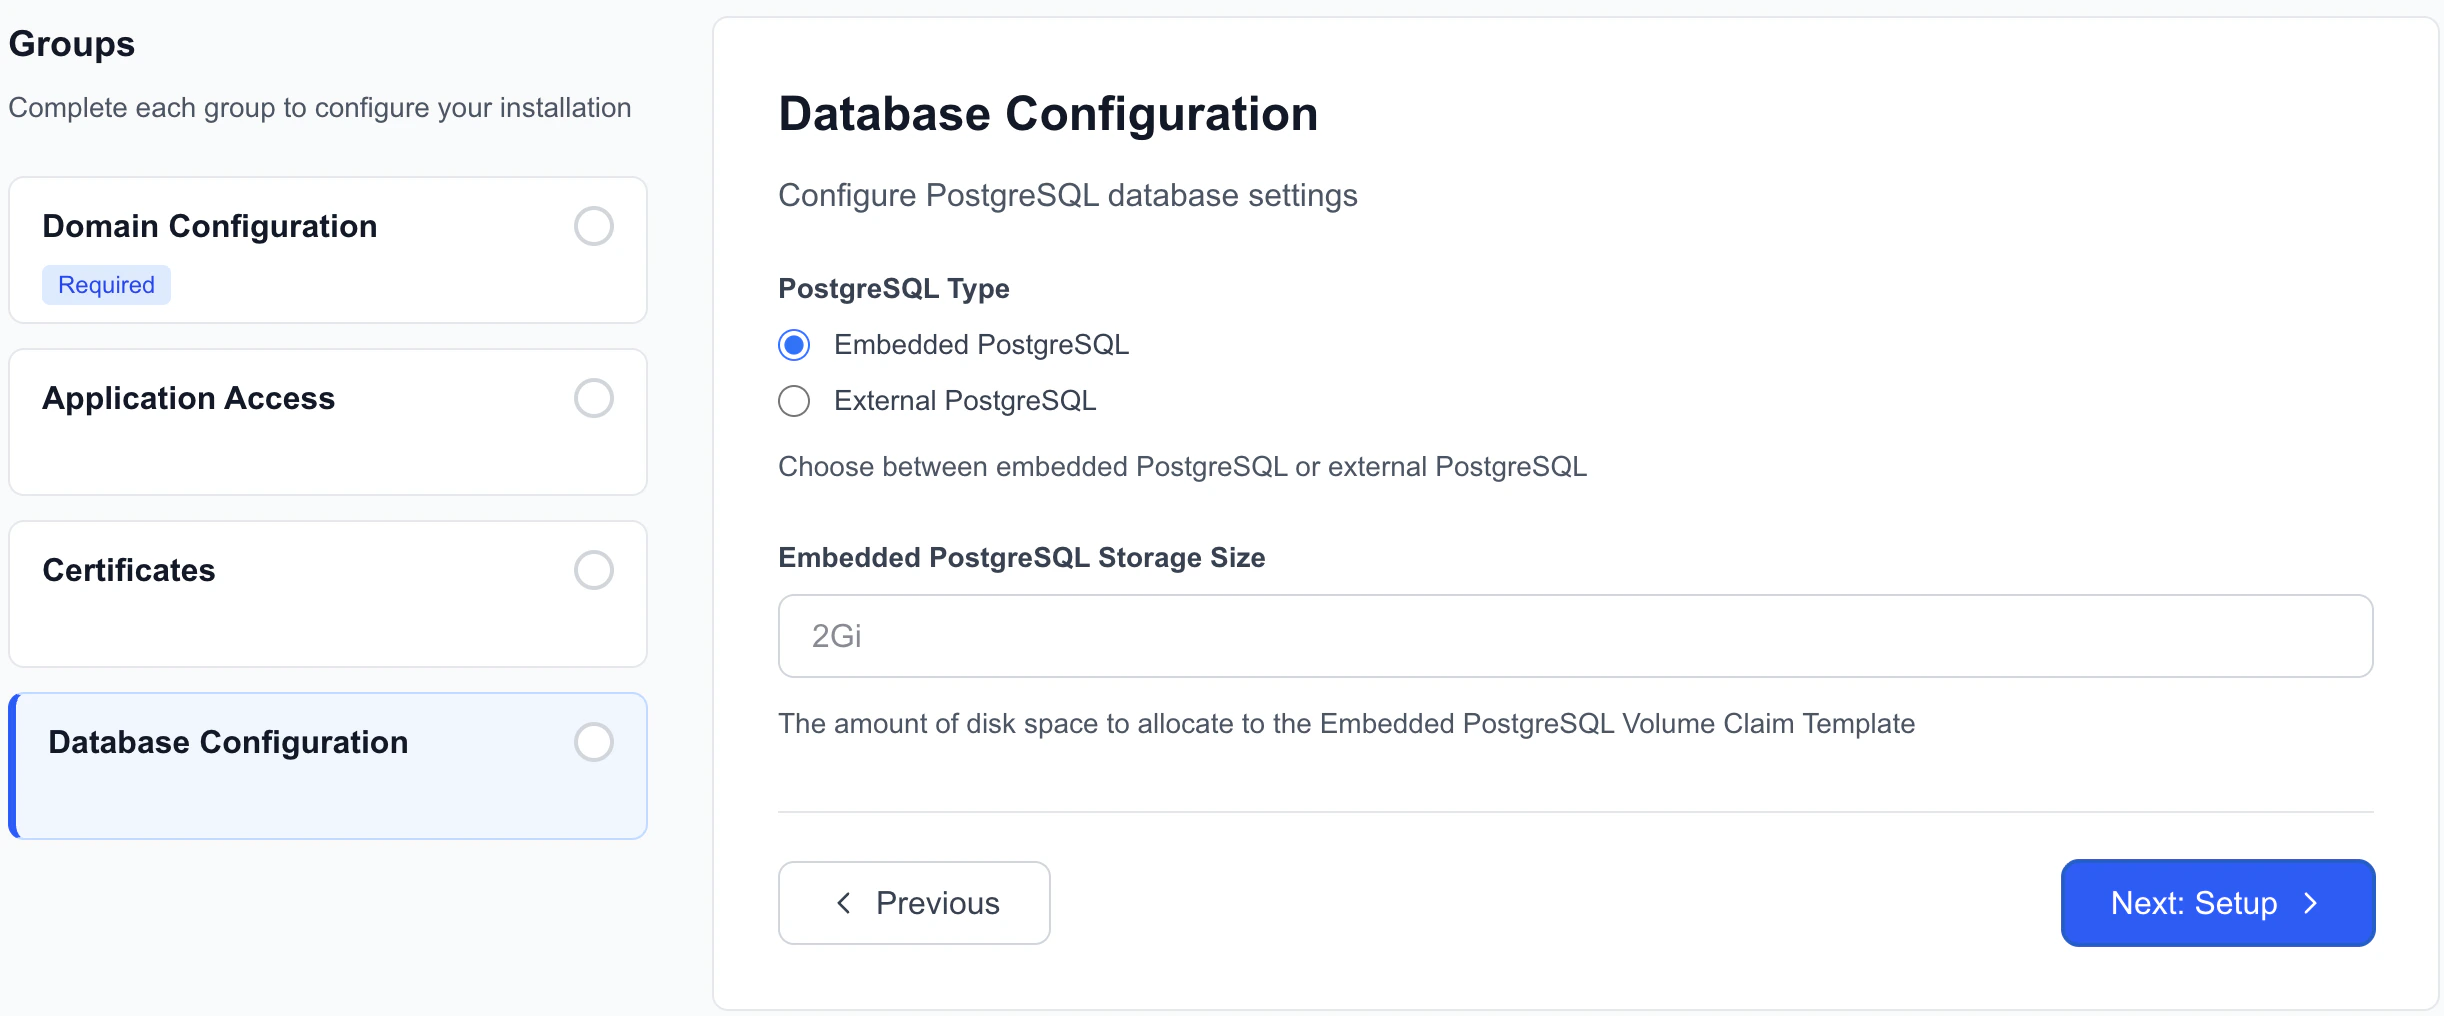
If you choose to use an external PostgreSQL database, ensure that the database is running PostgreSQL 18 and is reachable on port
5432 from the Linux host where BloodHound Enterprise is installed.6
Set Up
Configure the network settings the embedded cluster uses to communicate internally and reach external services.Accept the defaults unless your environment requires specific overrides.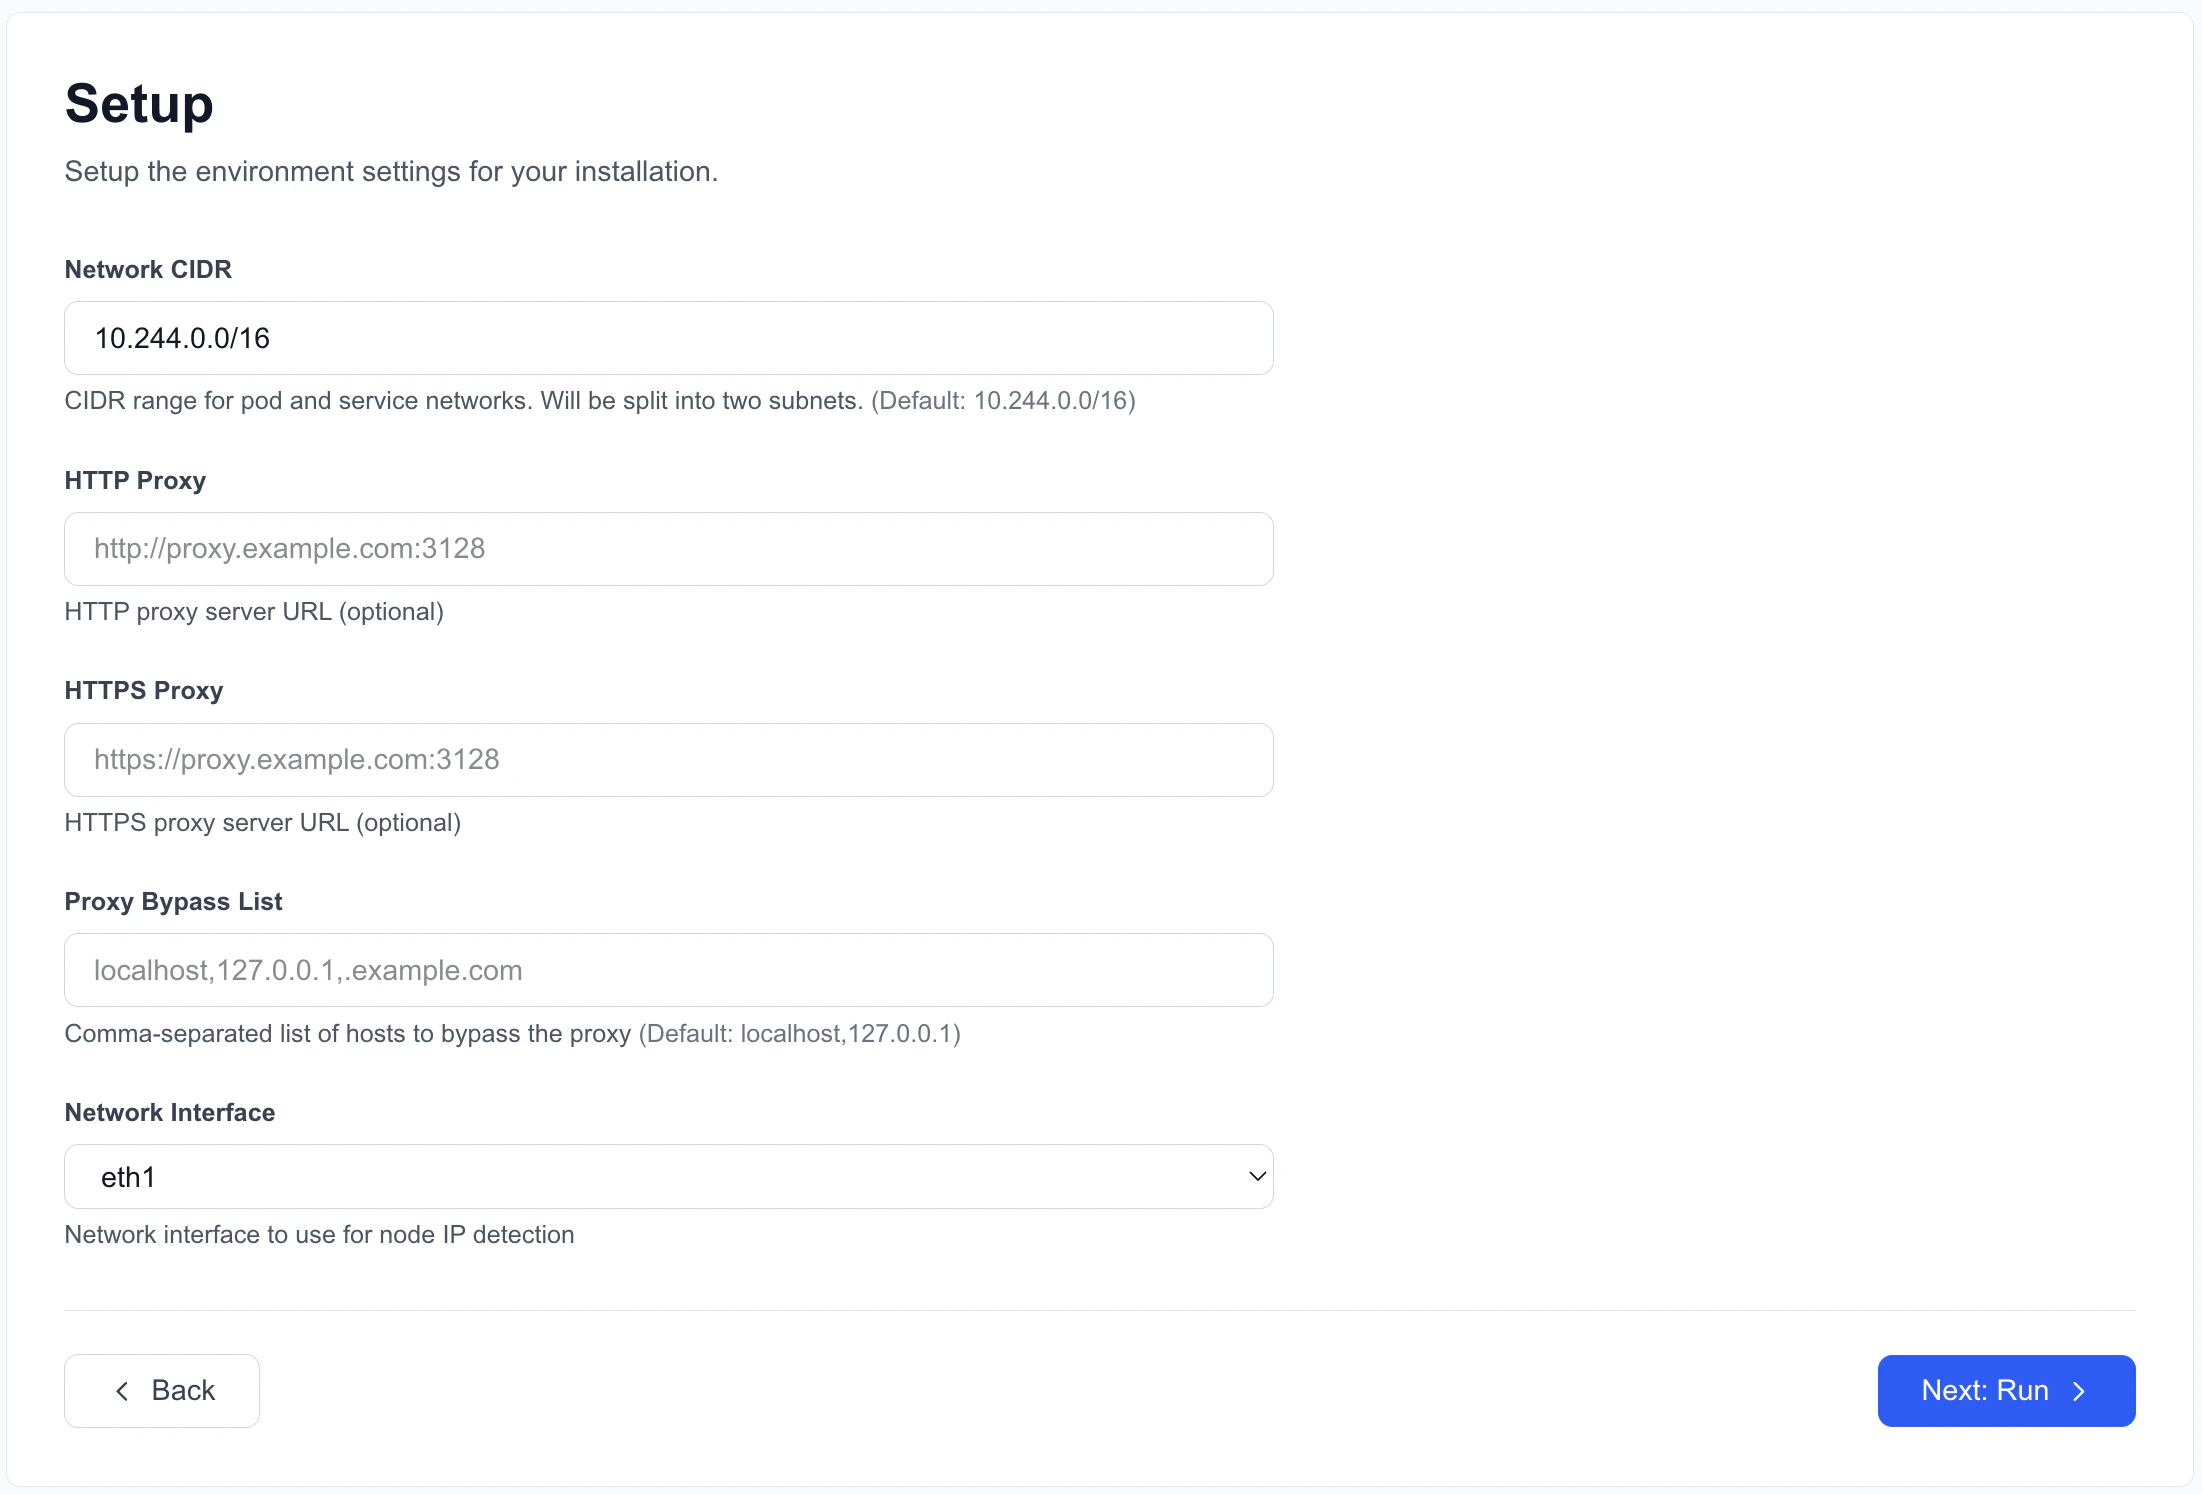
7
Run Preflight Checks
Review and resolve any blocking preflight checks before continuing the installation.Preflight checks verify that your cluster meets the requirements for a BloodHound Enterprise installation or upgrade before deployment begins.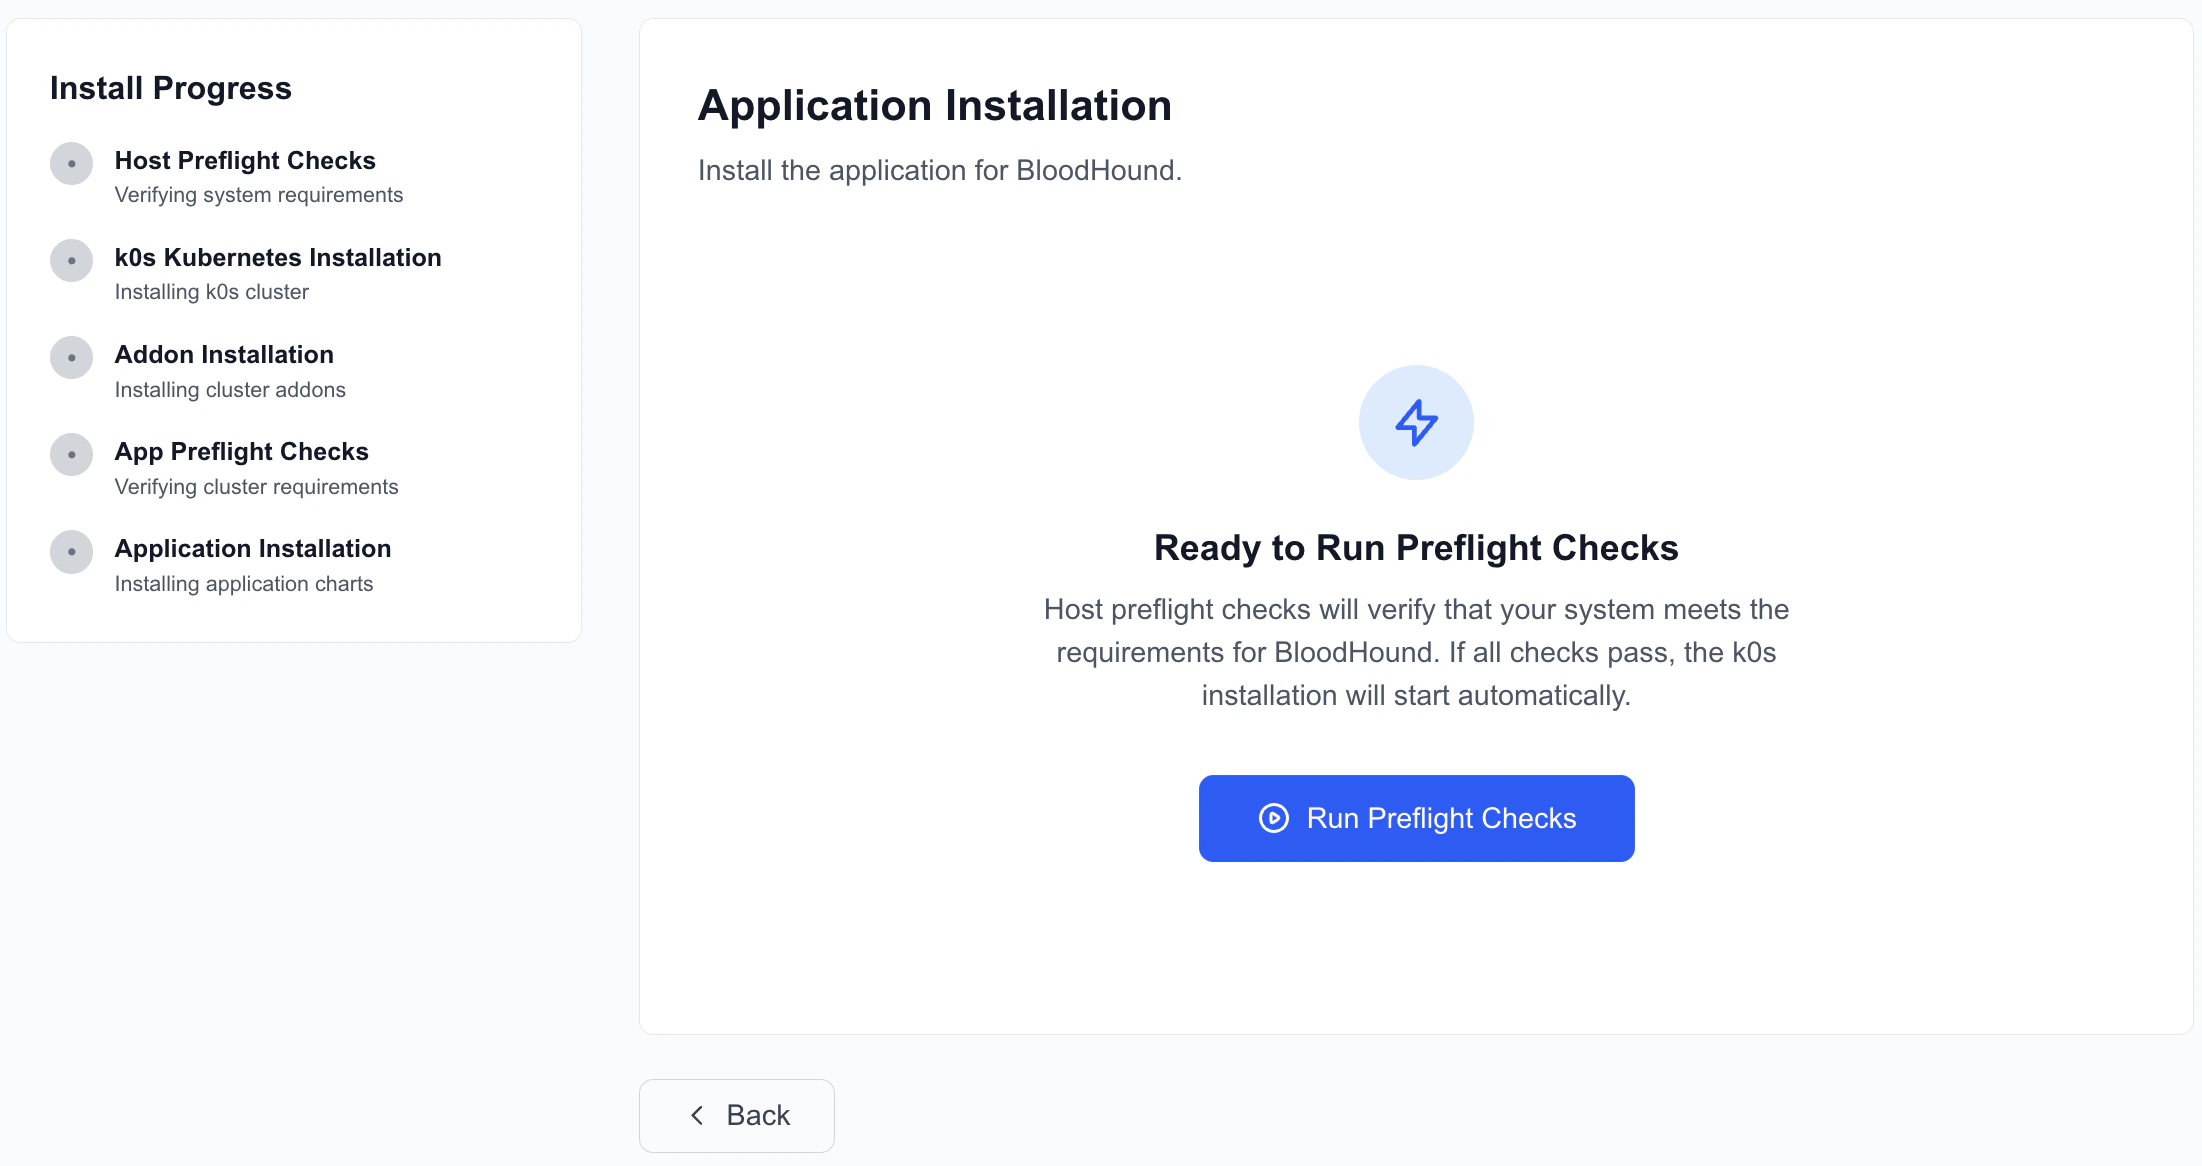
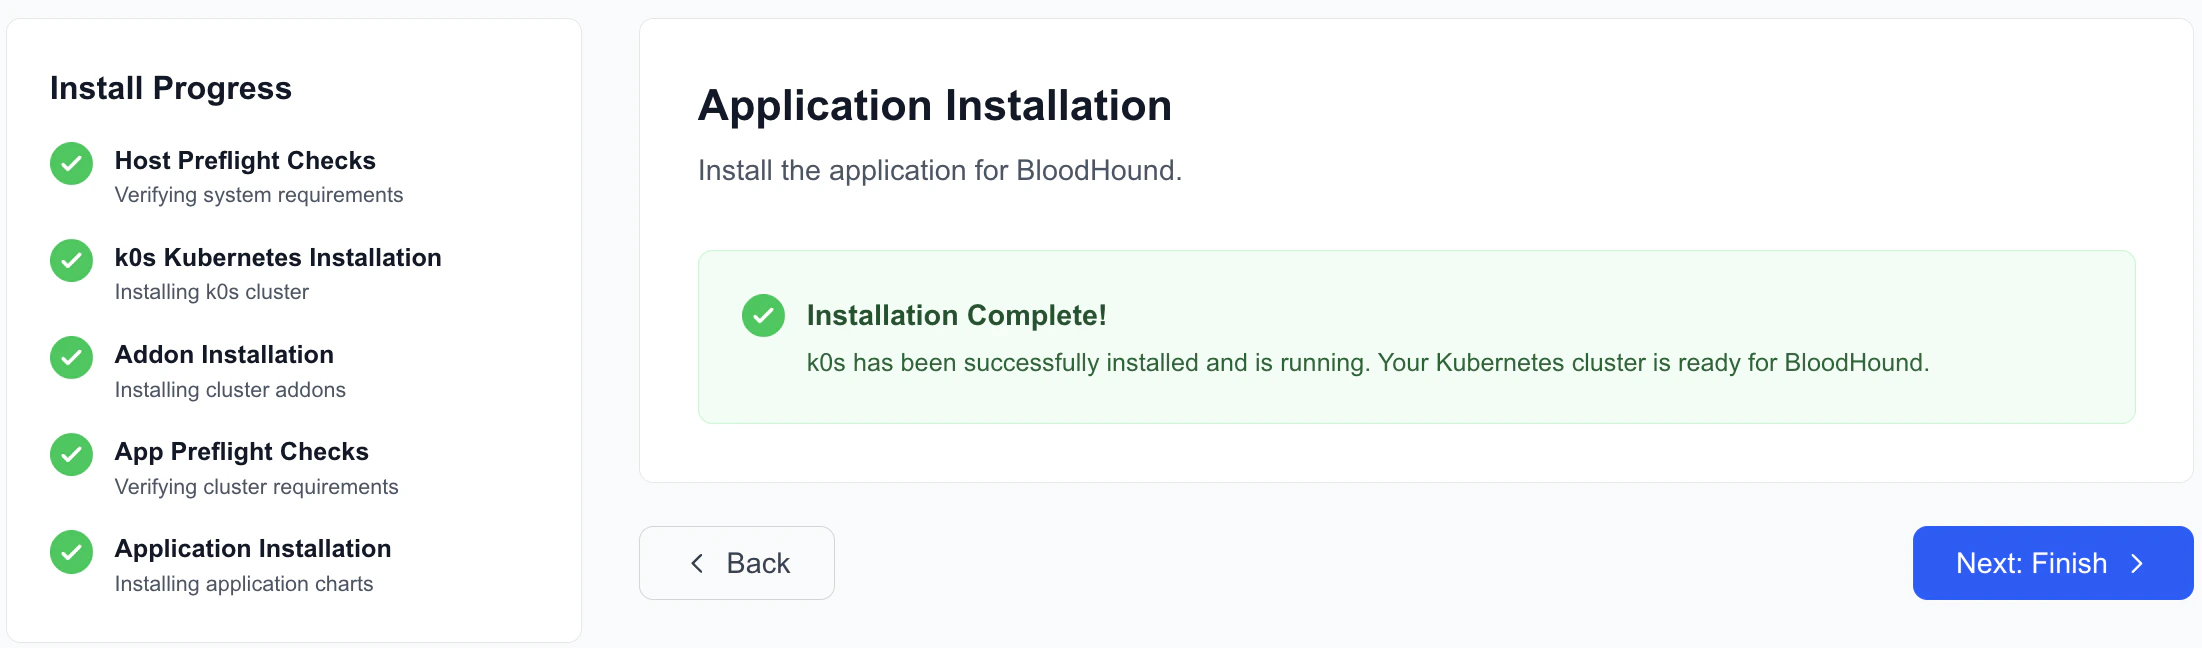
8
Finish
After exiting the Installation Wizard, return to the Install tab in the portal (installation instructions) and click Finish. You’ll be redirected to the Update tab, where you can view your active installation.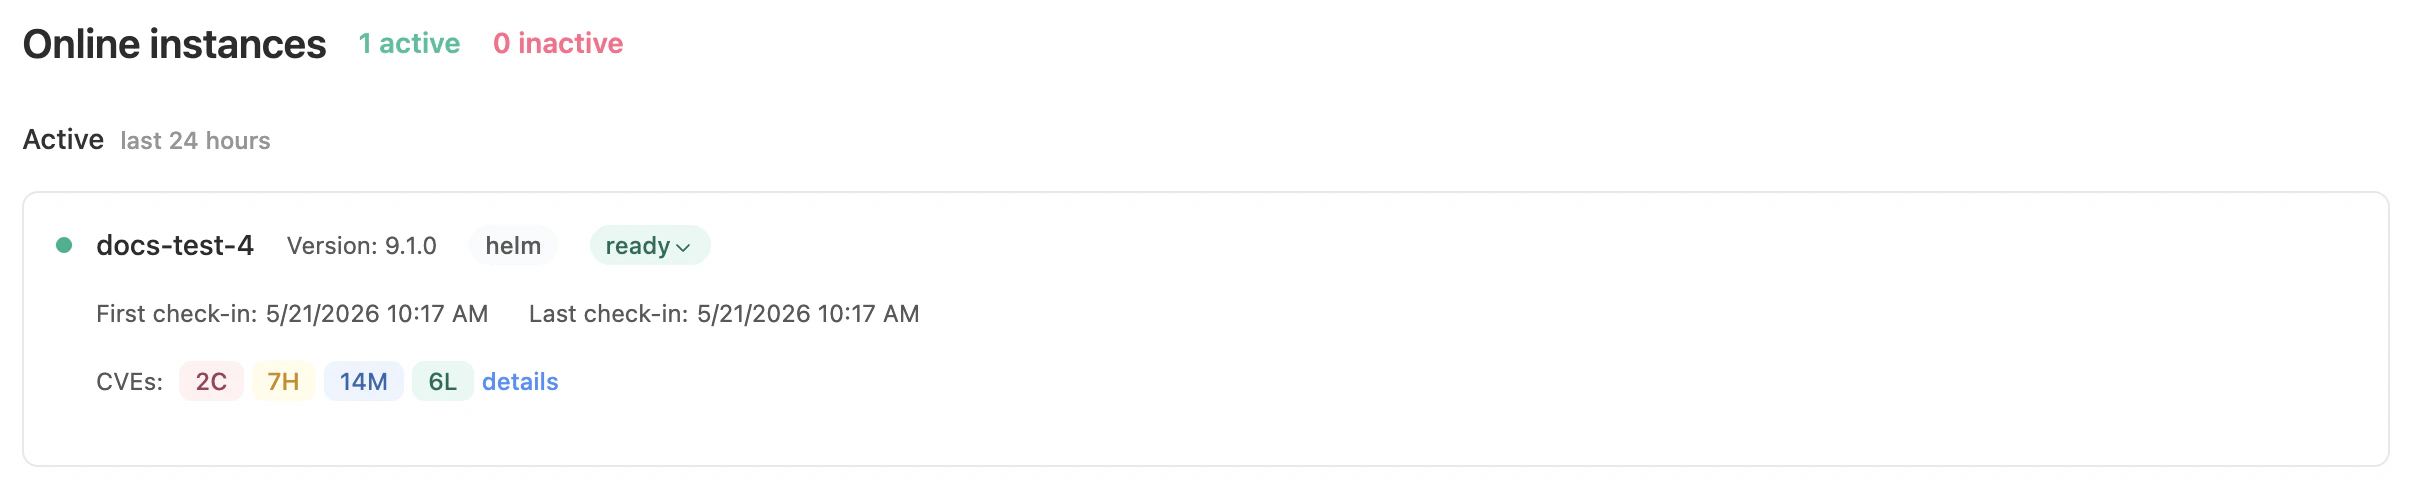
Ctrl+C to exit the installation process and stop the web interface for the wizard.BloodHound Enterprise continues running and is accessible at the FQDN you configured in the Domain Configuration step.Access BloodHound Enterprise
The last step of the installation process is to access the BloodHound Enterprise application in a browser and log in with the default admin credentials.1
Access BloodHound Enterprise
In a browser, navigate to the BloodHound Enterprise FQDN you configured in the Installation Wizard.
-
The default username is
admin. Enter the username in the Email Address field. - The default password is written to the BloodHound application logs on the Linux host.
kubectl shell environment and inspect the deployment logs:-
Load the
kubectlshell environment: -
Print the initial admin password from the
bloodhounddeployment’s logs:Targeting the deployment avoids needing to look up the current pod name, which changes between installations and restarts.
2
Next steps
With BloodHound Enterprise installed and accessible, complete the following next steps in the application:
- Change the default admin password (Administration > Manage Users)
- Create users
- Configure collectors
Troubleshooting
When troubleshooting, you can inspect cluster state and view logs using thekubectl command-line tool.
1
SSH into the Linux host
SSH into the Linux host where BloodHound Enterprise is installed.
2
Load the kubectl shell environment
Run the following command to load the
kubectl shell environment:The appropriate
kubeconfig is exported, and the location of useful binaries like kubectl and Replicated’s preflight and support-bundle plugins is added to PATH.3
Run common troubleshooting commands
Use the available binaries as needed. See the following tabs for common cluster inspection commands:
- Pods
- Services
- Logs
List all pods across every namespace:
4
Exit the kubectl shell
When finished, type
exit or press Ctrl + D to exit the shell.