Unlike zones, BloodHound does not use labels in risk analysis—they’re designed to help you organize and query your data.
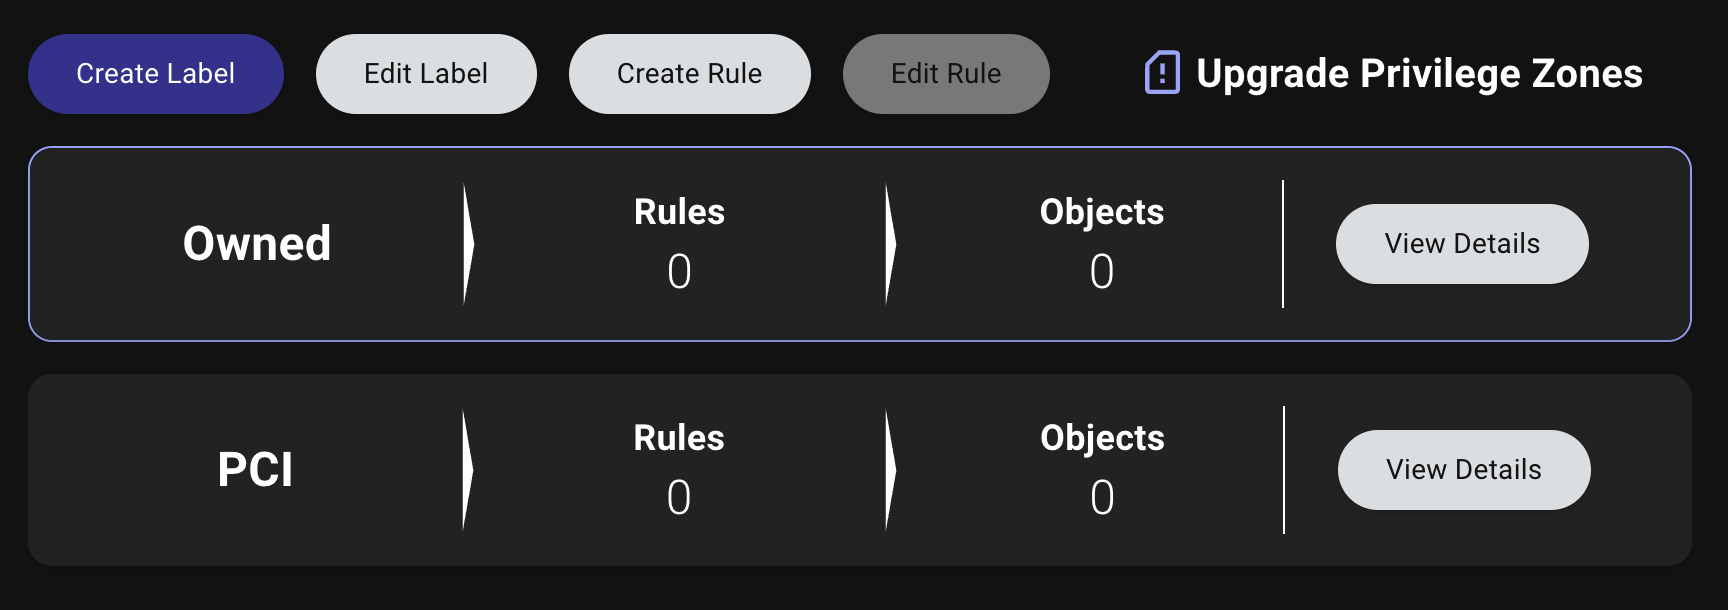
- Summary View
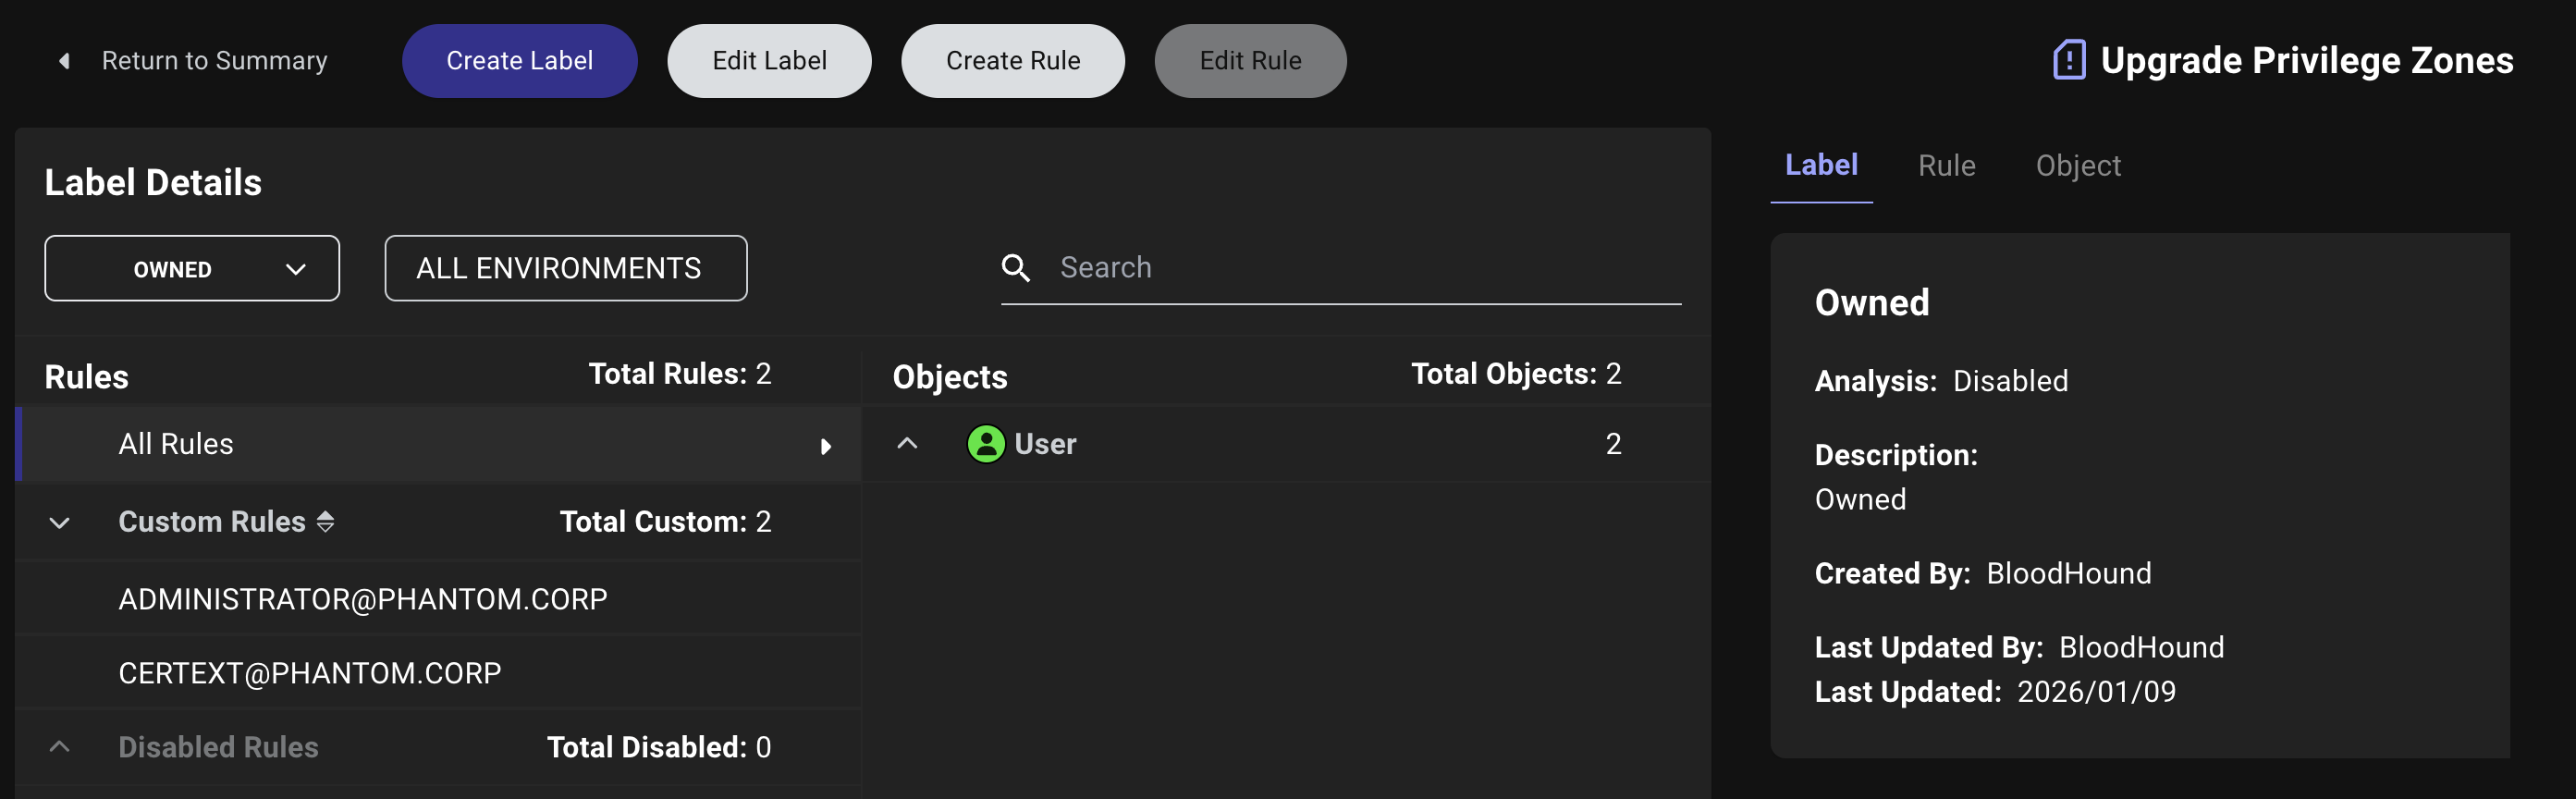
- Details View
The Summary View shows label names, rule counts, and object counts.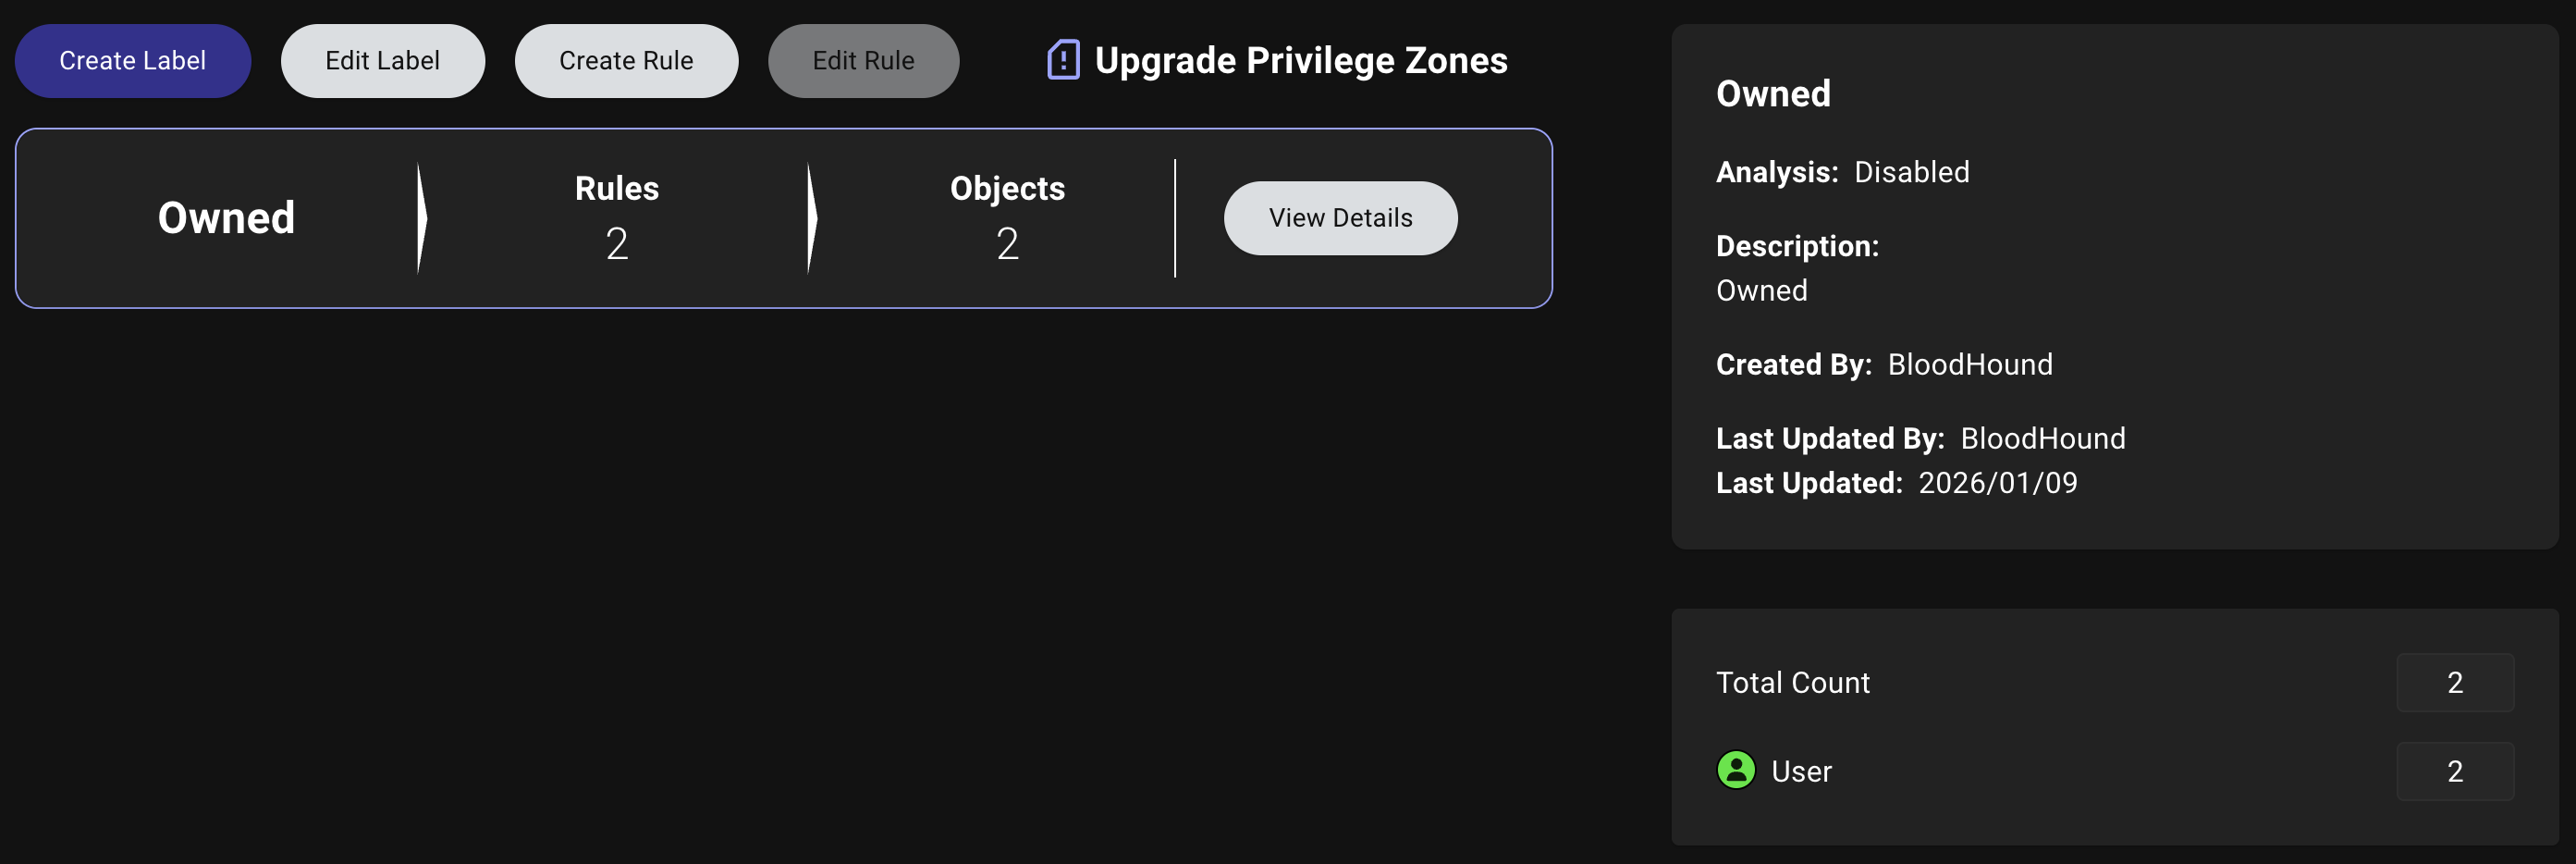
Create a label
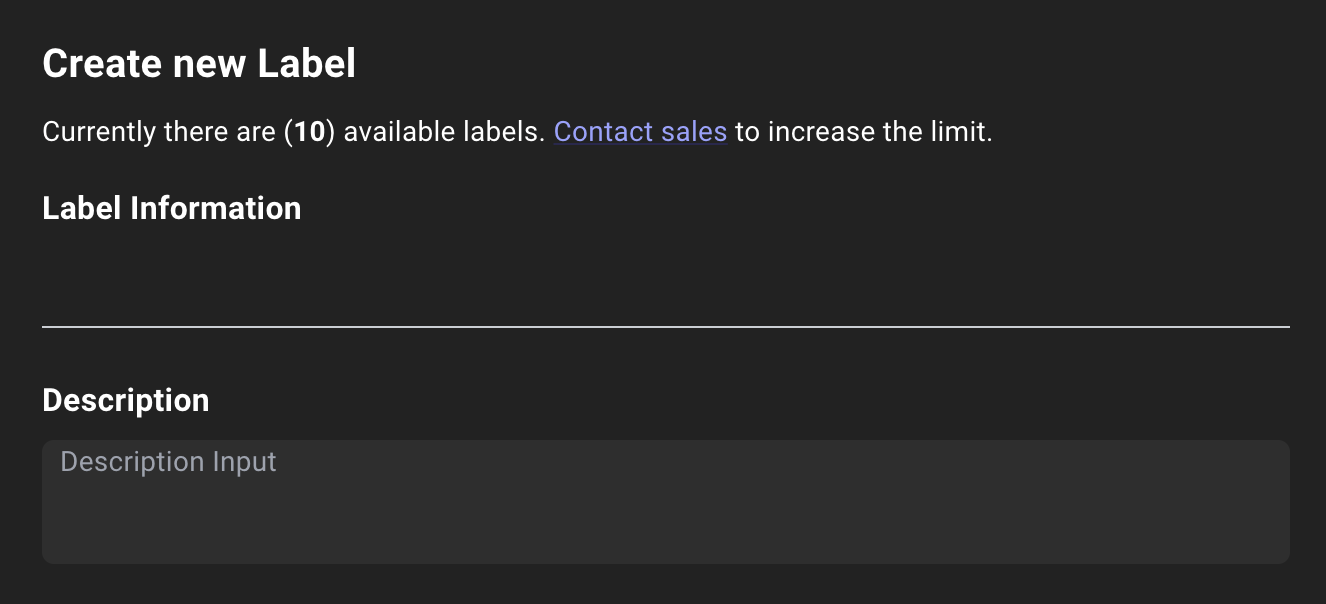
Enterprise Edition You can create custom labels to categorize objects based on any criteria relevant to your environment, such as business function, sensitivity level, or compliance requirements. For example, you might create a label for PCI-scoped systems to quickly identify attack paths from non-PCI to PCI environments. Creating a label involves configuring the label details and defining a rule.Configure initial label details
Enter all relevant information about the label:
| Field | Required? | Description |
|---|---|---|
| Name | Yes | A unique name for the label (e.g., PCI) |
| Description | No | A brief description of the label’s purpose and scope (e.g., PCI assets) |
Define a rule
Click Define Rule to save your new label and continue on to define the objects to include in the label.When defining a rule during the label creation process, provide the following information:
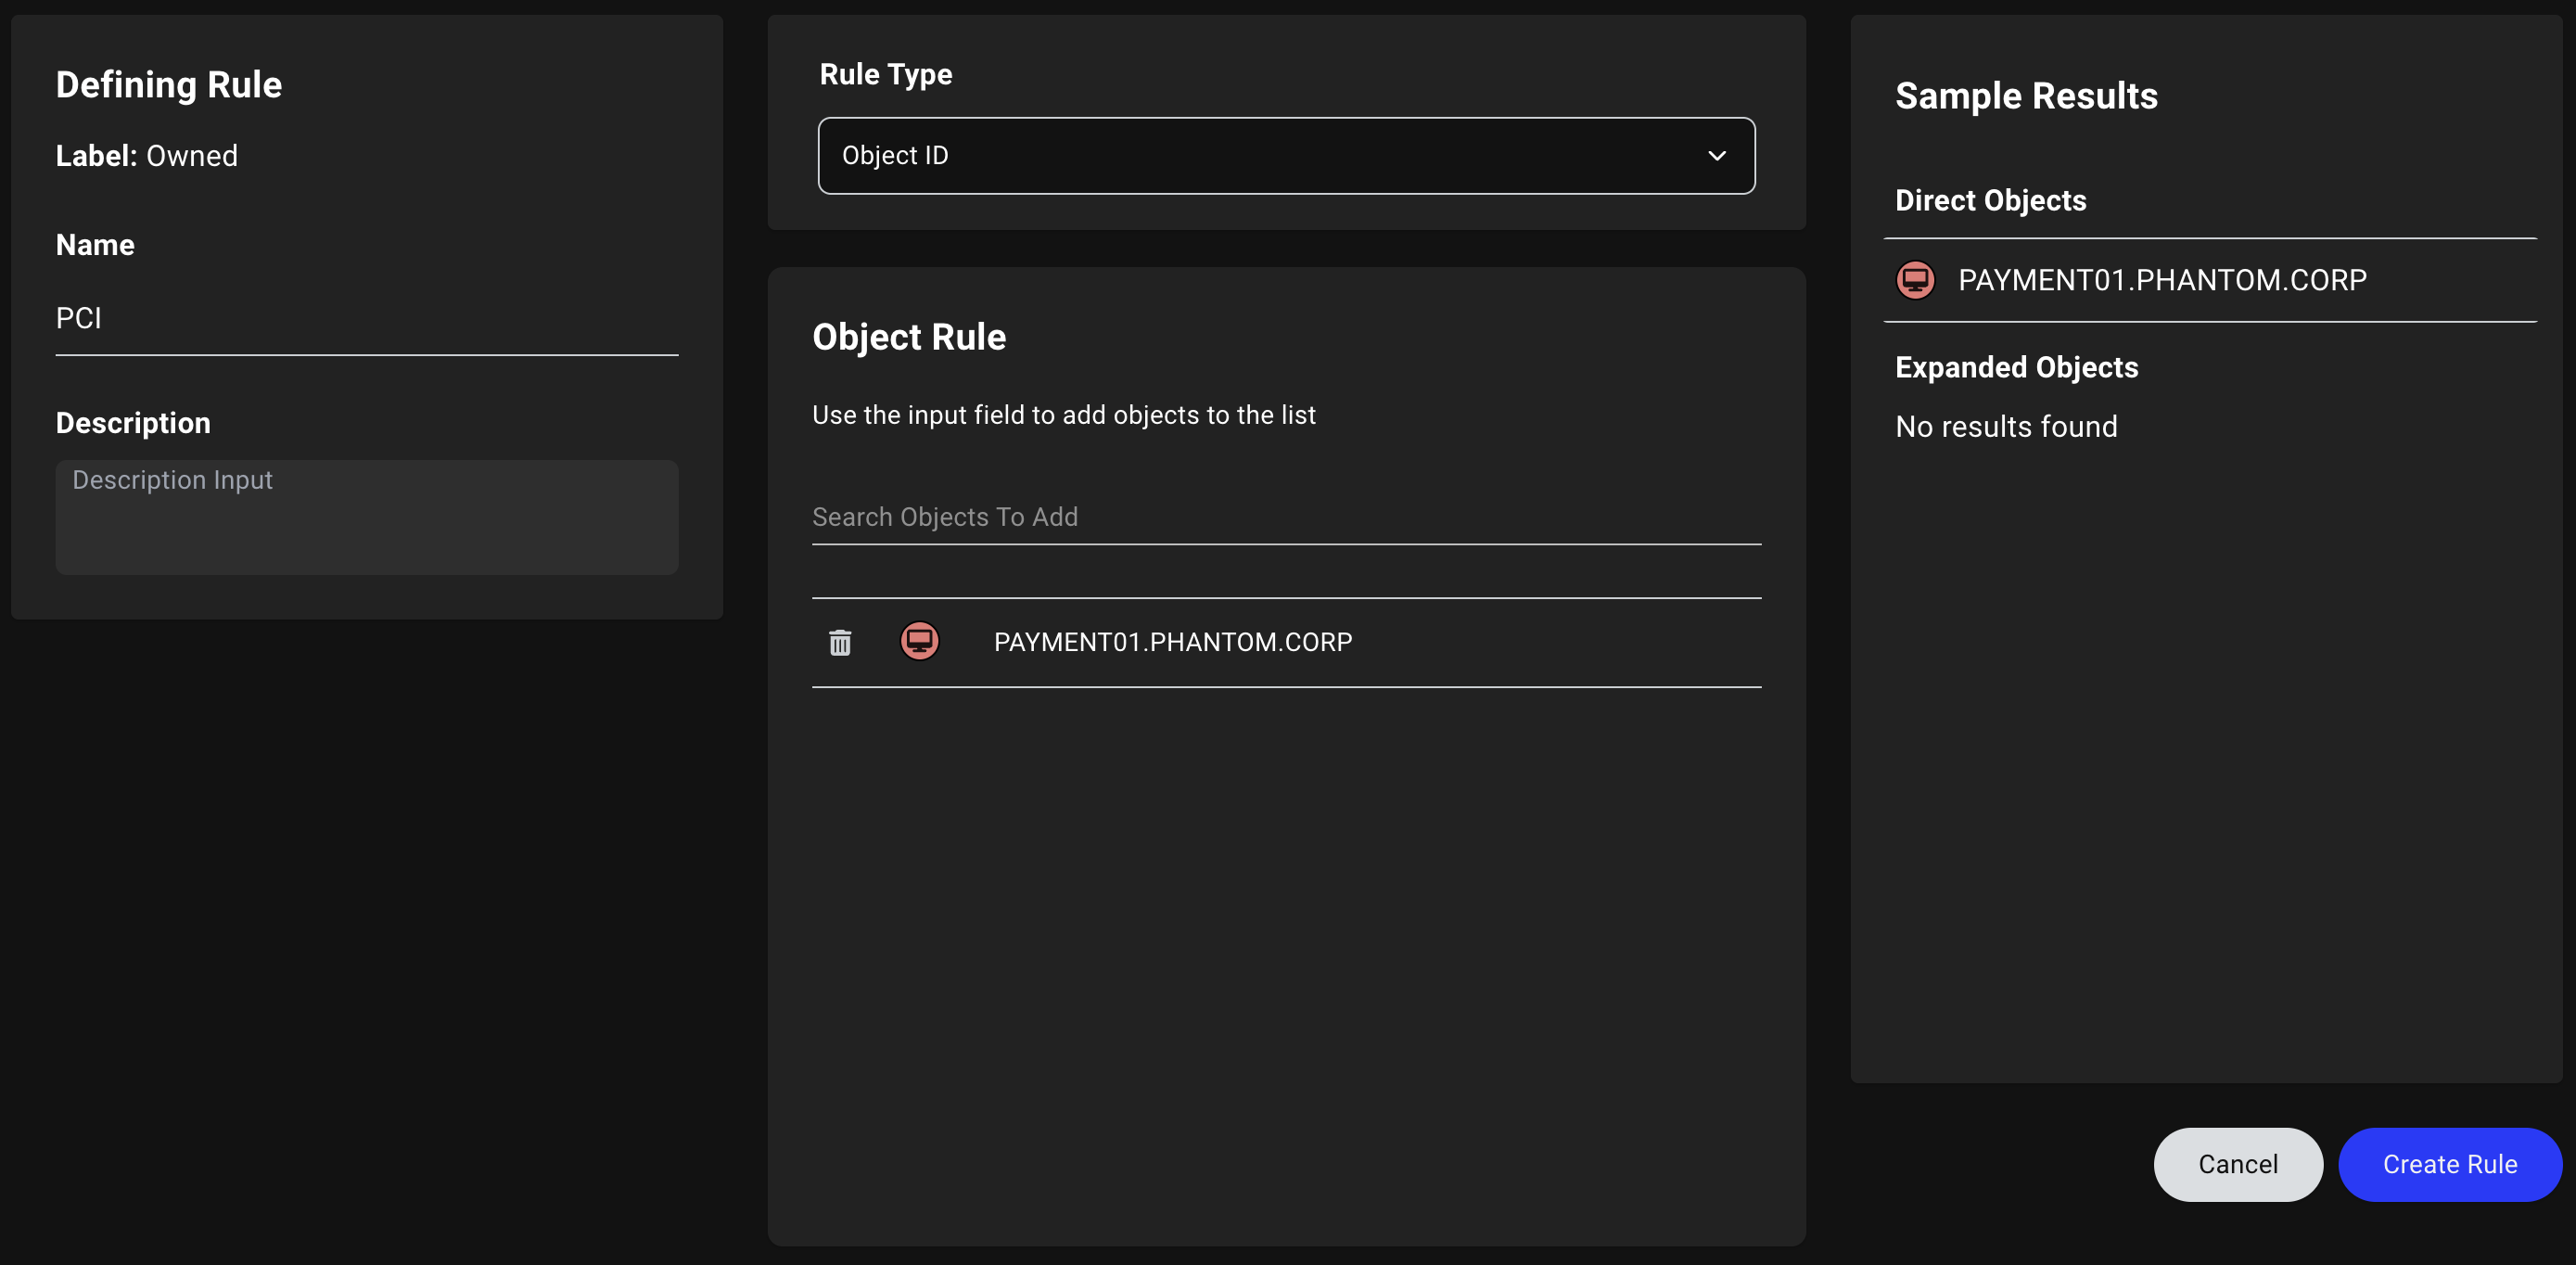
| Field | Required? | Description |
|---|---|---|
| Name | Yes | A unique name for the rule (e.g., PCI) |
| Description | No | A brief description of the rule’s purpose and scope (e.g., PCI assets) |
| Rule Type | Yes | The type of rule to use (e.g., Object ID or Cypher) |
Edit a label
To edit a label, follow these steps:Select a label
- In the left menu, click Privilege Zones.
- Click the Labels tab
-
By default, the Owned label is pre-selected. To edit a different label, select the label you want to edit.
If you’re using BloodHound Enterprise, you can select a label from the Summary View.
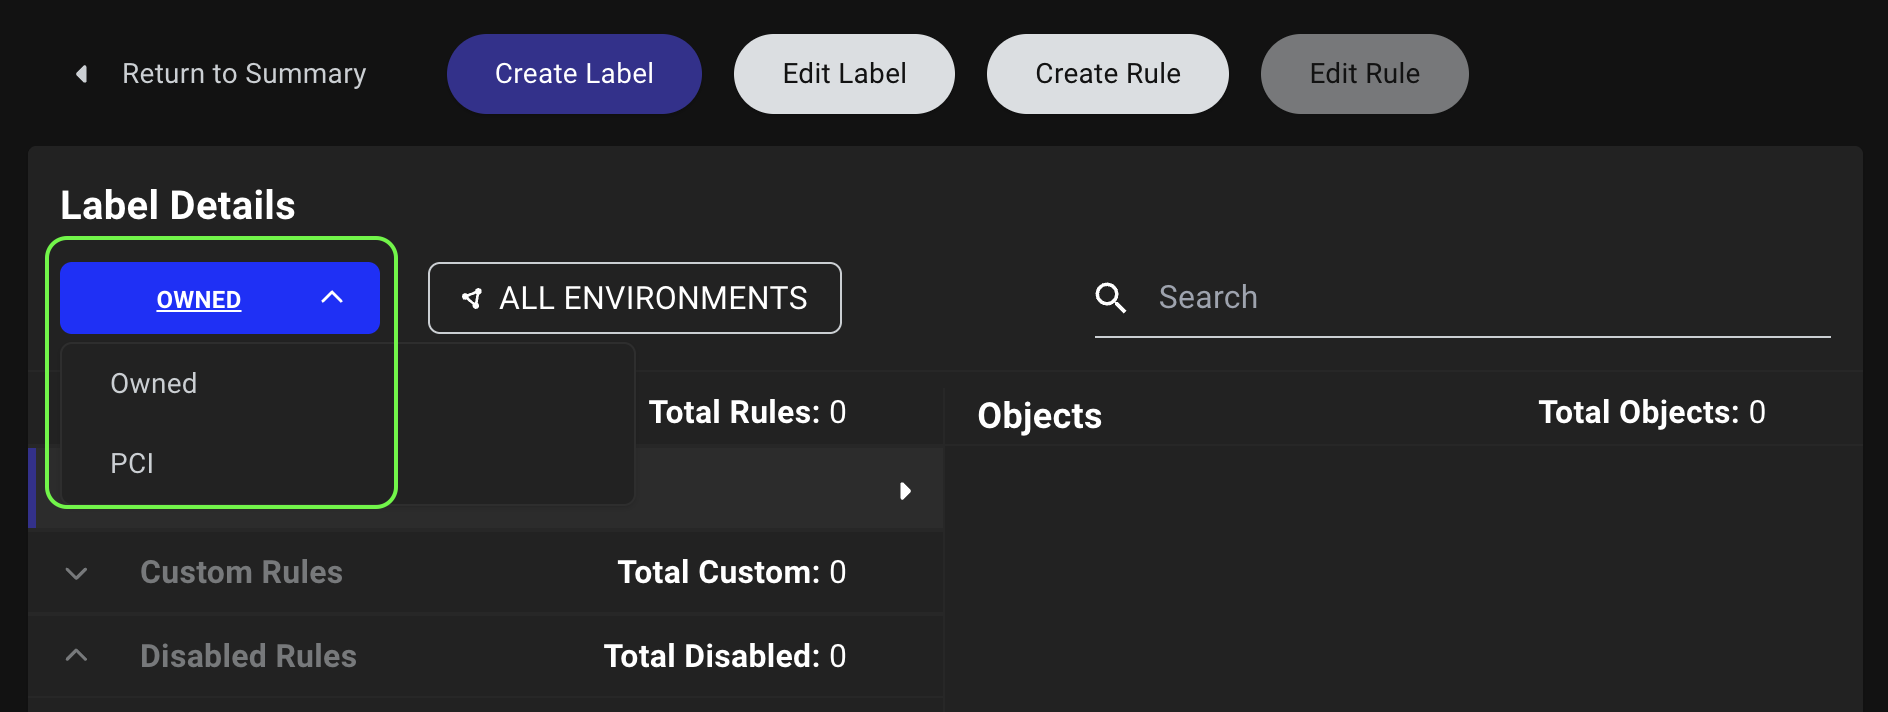
- Click Edit Label.