


Purpose
This article describes how to use Cypher queries to extend the basic search functionality of BloodHound. BloodHound offers a variety of prebuilt queries to help you get started. You can search and filter queries by various criteria, create and manage custom queries, and import and export queries in JSON format.What is Cypher?
Cypher is a query language for graph databases (similar to SQL for relational databases). It uses an ASCII-art style syntax to describe nodes and relationships. If you can describe the path you’re looking for, you can write it in Cypher.This article provides an introduction to Cypher queries in BloodHound, including how to access prebuilt queries and manage saved queries. See Write Custom Queries for more advanced information.
Quickstart
A great way to start exploring Cypher queries is through the community-driven BloodHound Query Library. This comprehensive collection includes both community-contributed queries and the prebuilt queries that are available in BloodHound. When you’re ready to explore prebuilt queries inside BloodHound, follow these steps:1
Open the Saved Queries section
Click Explore > Cypher > Saved Queries.BloodHound displays prebuilt queries by default when you expand the Saved Queries section.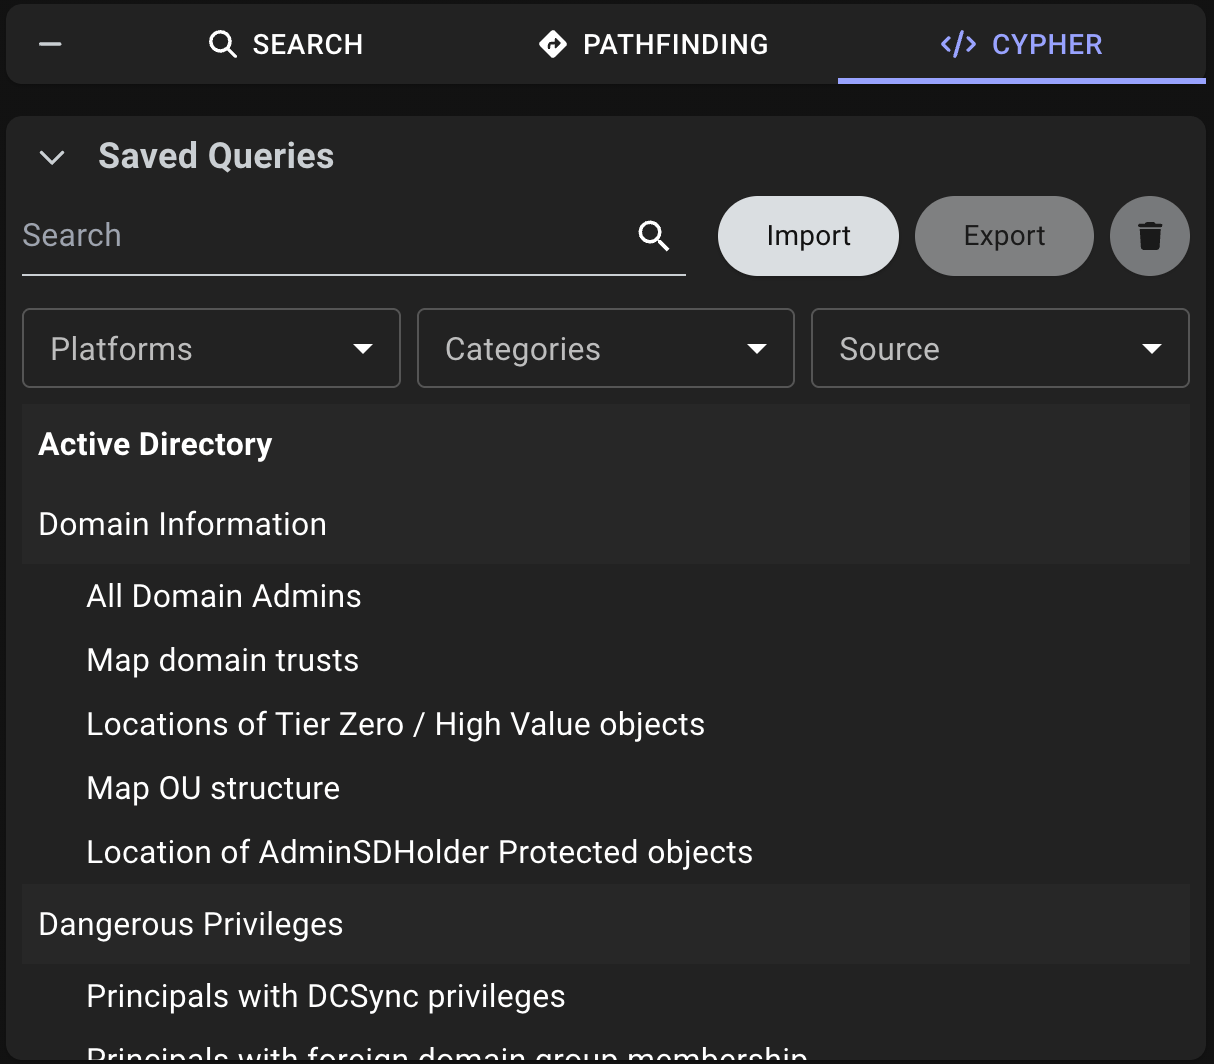
2
Select and run a query
Select a query from the list to display the Cypher syntax and automatically run the query.
3
Review the results
Review the results in the graph view.You can modify the Cypher syntax and re-run the query to explore different relationships.
Features
BloodHound provides several features to help you work with Cypher queries. These features enable you to search and manage your queries effectively.Search and Filter
BloodHound offers several search and filtering options to help you find the right query quickly.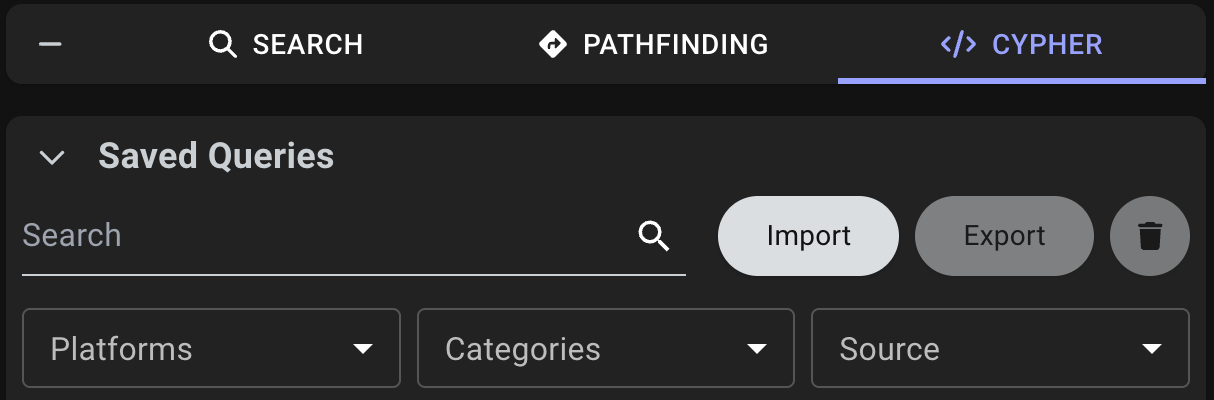
- Search saved queries by name: Quickly locate specific queries using the search text box.
-
Filter queries: Narrow down the list of queries by selecting one of the following options:
- Platforms: Displays queries based on the platform that they target, such as Active Directory or Azure. You can also filter to show only your saved queries.
- Categories: Displays queries based on logical groups, such as shortest path and dangerous privileges.
- Source: Displays queries based on their source, such as prebuilt, personal, and shared.
Create and Manage Queries
BloodHound provides several features to help you create and manage custom queries. For example, you can:- Save a query: Write a custom query and store it for future use.
- Save As: Create a copy of an existing query with a new name, description, and updated parameters.
- Share a saved query: Share your custom query with all users or specific users in your BloodHound environment.
- Edit a saved query: Modify the Cypher syntax, metadata, and shared access of a custom query.
- Delete saved queries: Remove custom queries that you no longer need.
You can only edit, share, and delete queries that you have created. You cannot modify prebuilt queries directly, but you can use the Save As feature to create a copy that you can then edit.
1
Open the query editor
In the left menu, click Explore > Cypher.
2
Create or copy a query
Choose one of the following options to create a custom query:
- Create a new custom query
- Copy an existing query
In the query editor, write a custom query and run it to see the results.
3
Enter query details
In the Save Query dialog, enter a unique name and description for your query.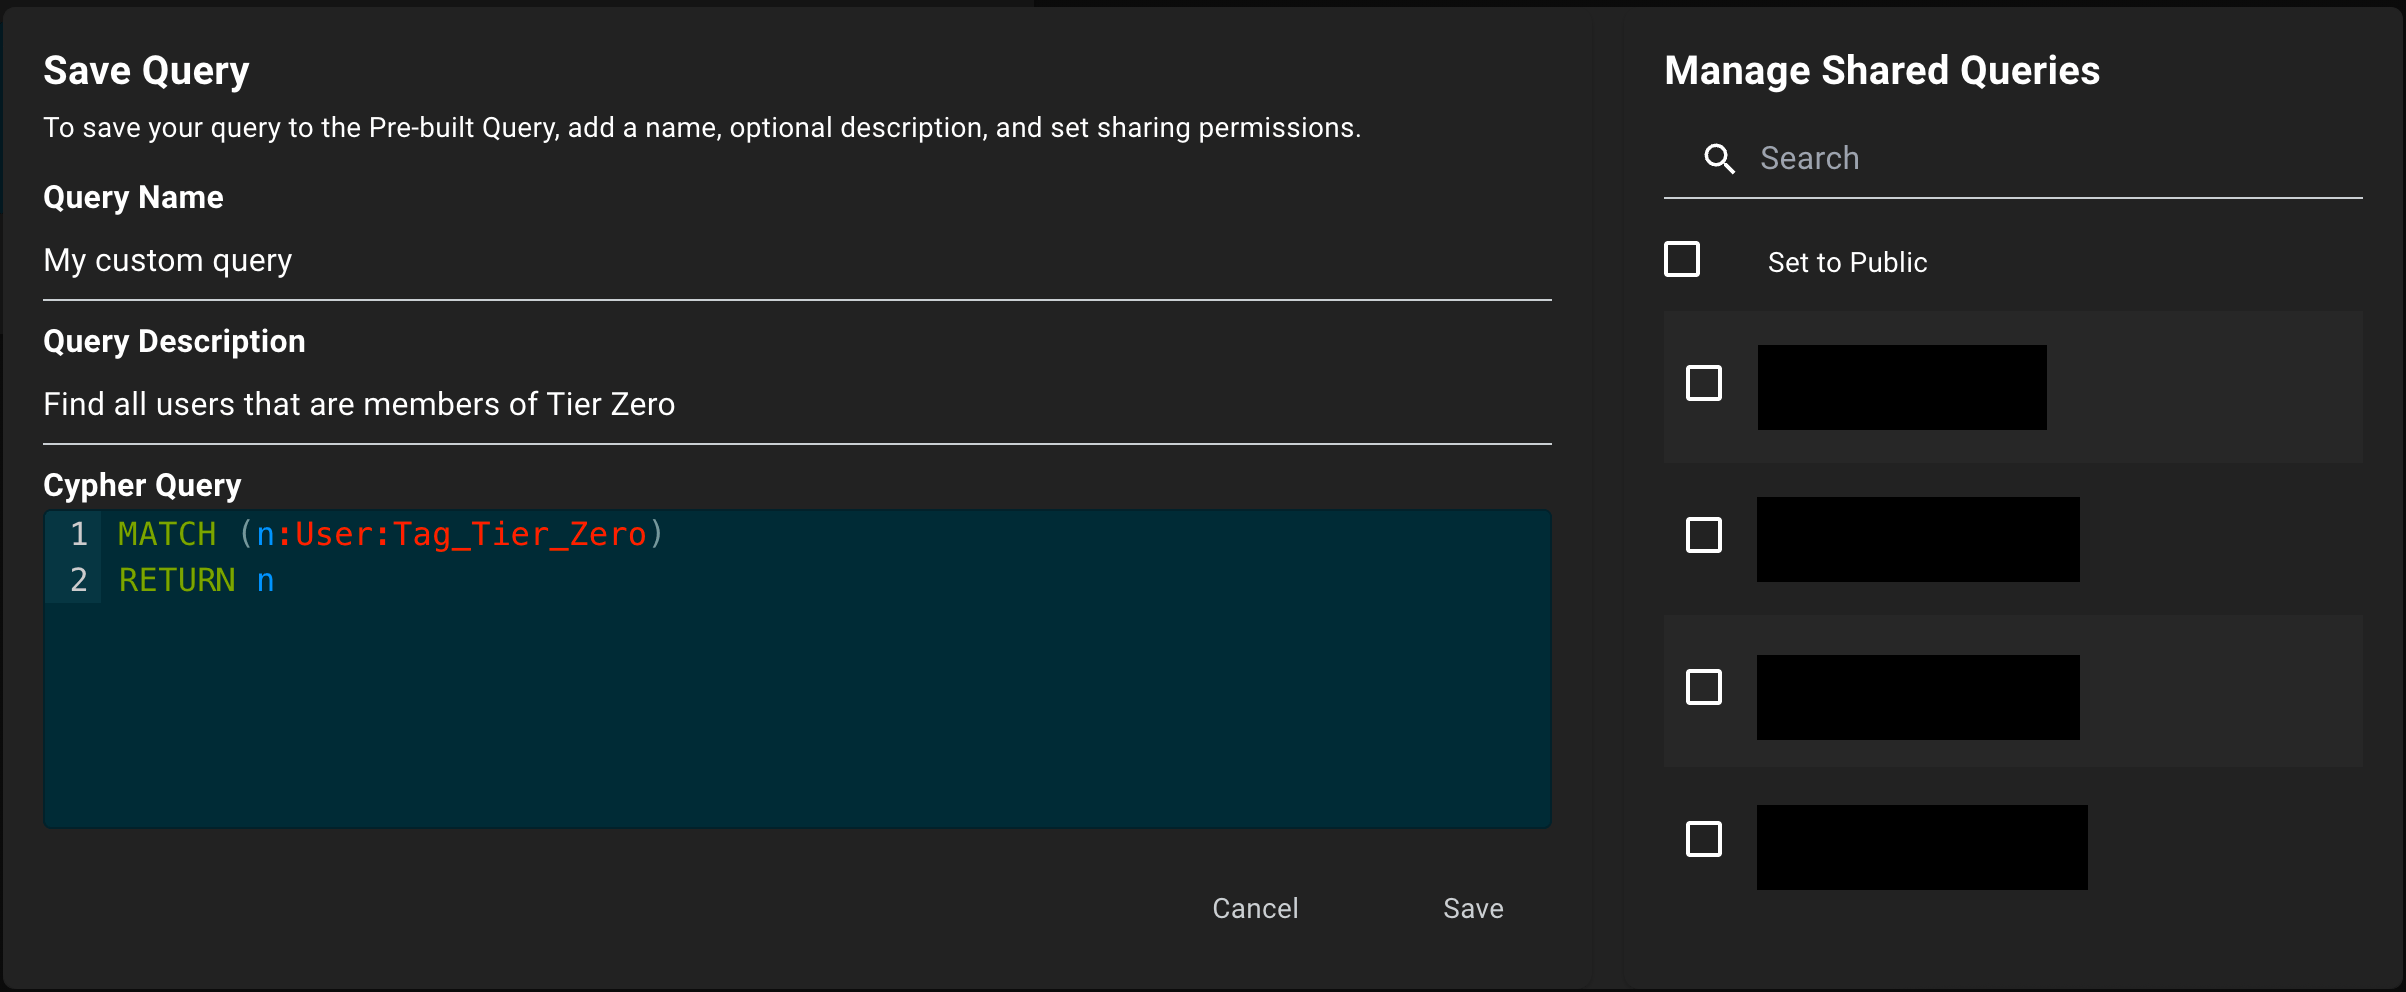
4
Share your query (optional)
In the Manage Shared Queries dialog, select Set to Public to enable collaboration with all users in your BloodHound environment or select specific users. You can change these settings later if needed.
5
Save your query
Click Save to store your custom query. It will now appear in the list of saved queries.
6
Edit or delete your query
To edit or delete your query, click the vertical ellipsis (three dots) next to the query name and select Edit/Share or Delete.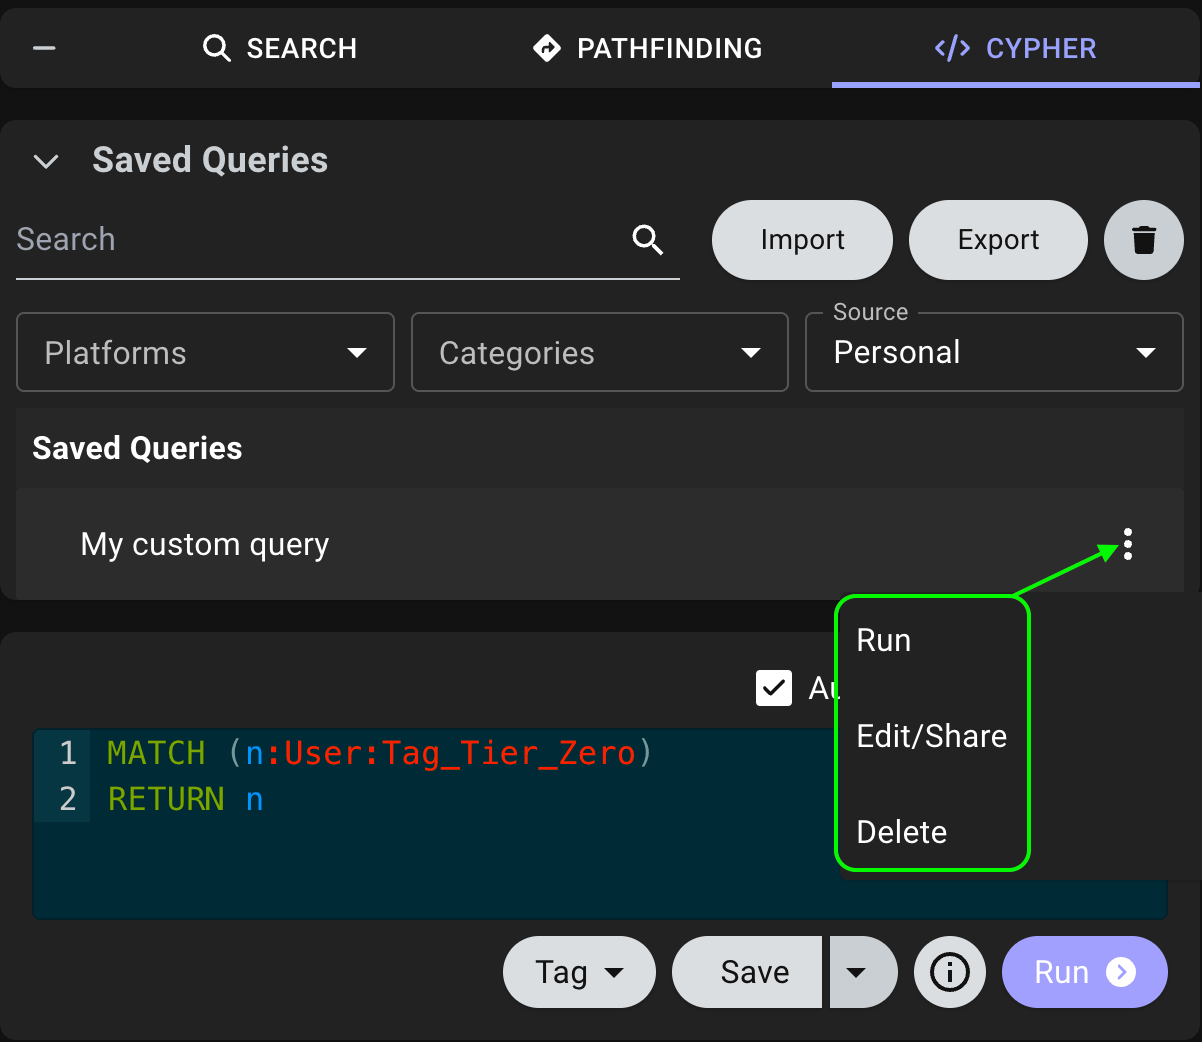
Import and Export
BloodHound allows you to import and export queries for easy sharing and backup.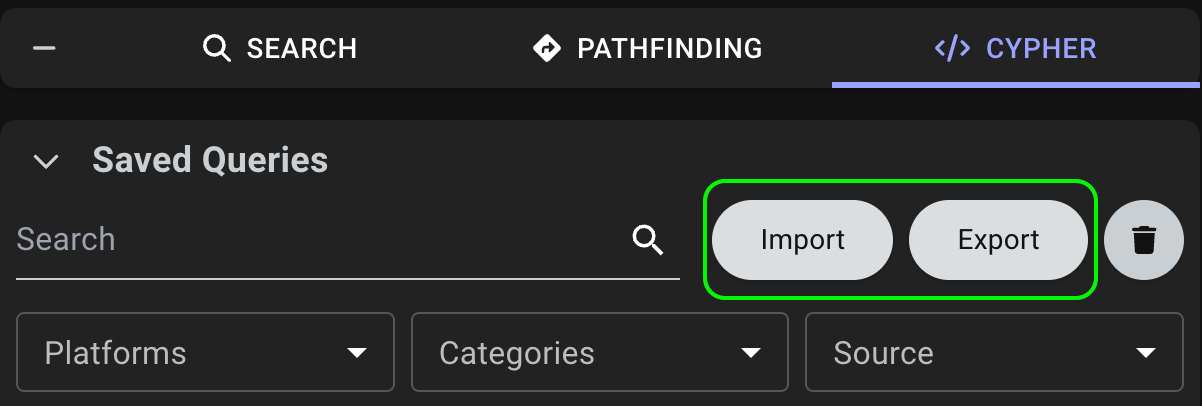
- Import queries from JSON files: Easily add new queries by dragging and dropping JSON files or compressed JSON files into the UI. BloodHound validates the files for correct syntax and notifies you of any errors.
- Export a saved query to a JSON file: Share or back up your queries by exporting them in JSON format. Export is available for saved queries only. You cannot export prebuilt queries directly.
Write Custom Queries
BloodHound lets you run queries in its supported Cypher subset directly in the user interface. Cypher support expanded significantly in v9.10. The syntax reference describes the supported syntax and PostgreSQL-specific limitations. BloodHound rejects procedure calls and user-supplied query parameters before database execution. Use Cypher when you need to inspect relationships, answer targeted questions, or build analyses that go beyond the prebuilt queries. Cypher supports everything from simple lookups to complex identity attack-path analysis. For example, you can answer questions such as:- Which users have not reset their passwords in 180 days?
- Which low-privileged users can reach machines that host an unconstrained gMSA?
- What are the shortest paths from low-privilege users to Domain Admins?
- Which objects are in Tier Zero?
Elements of the graph database
Everything in the graph database is represented using common terms from graph theory, particularly edges and nodes. Nodes represent discrete objects in your environment. In BloodHound, a node can represent a user, group, device, repository, or another object collected from a built-in platform or an OpenGraph extension. Edges represent relationships between nodes and often describe how one object connects to (or can affect) another. In BloodHound, an edge can represent membership, administrative control, trust, or another relationship defined in the graph. Together, nodes and edges form the paths BloodHound uses to model how access, permissions, and control flow through your environment.Basic Cypher
Supported Cypher Syntax
- Variables use identifiers such as
B,A,R, orgroups. Use backticks for labels, relationship types, properties, variables, and aliases containing spaces, punctuation, or reserved words. A doubled backtick represents a literal backtick. - In Cypher queries, nodes are specified using parentheses, so B and R are nodes in the sample query above.
- Relationships are specified using brackets, so in this example, A represents relationships.
WITH and ORDER BY.
The dashes between the nodes and relationships can be used to specify direction. Relationships in BloodHound always go in the direction of compromise or further privilege, whether through group membership or user credentials from a session.
In the above query, the -> specifies that the query should return relationships that go from B to R. Removing the > will allow the query to search relationships in both directions. Finally, the RETURN statement instructs the database to return the item matched with the corresponding variable name B.
Now, let’s take our previous query and make it a bit more complex:
String matching is case-sensitive. Active Directory names in these examples use uppercase values with a domain suffix, such as
DOMAIN ADMINS@INTERNAL.LOCAL. Match the values stored in your environment.shortestPath does not promise which one is selected. Use allShortestPaths to return every relationship-distinct minimum trail; doing so can consume more resources.
On PostgreSQL, searches with no upper bound are subject to execution budgets and cancellation. If a budget is exhausted, the query returns an error rather than partial results. Use an explicit bound, such as *1..3, when you intend to limit search depth. See Recursive expansion for details.
Bind shortest paths with MATCH p = shortestPath(...), then use functions such as length(p) in RETURN. PostgreSQL does not support generic undirected shortest searches or shortest-path minimum bounds greater than one. See the current shortest-path limitations before combining shortest paths with mutations.
Use =~ for regex matching. For example, this query finds names containing a search term without regard to case:
(?i) enables case-insensitive matching. On PostgreSQL, regex uses PostgreSQL syntax and matches substrings; add ^ and $ for whole-string matching. Do not assume complete Java/Neo4j regex compatibility. For literal searches, use STARTS WITH, CONTAINS, or ENDS WITH; these are case-sensitive and do not treat %, _, or backslashes as wildcards.
Advanced Concepts
UseWITH to pass selected bindings between parts of one query. Only projected bindings remain in scope. WITH supports aliases, DISTINCT, aggregation, filtering, sorting, and pagination.
For example, count the distinct computers with sessions from users who are effective members of a group:
WITH DISTINCT m carries each user once into the session lookup. The final projection counts each matching computer once.
To limit users before matching their relationships, apply sorting and pagination at the WITH boundary:
WITH applies its ORDER BY, SKIP, and LIMIT before its WHERE filters the output. Later projections have their own modifiers. PostgreSQL requires literal SKIP and LIMIT counts; calculated or parameterized counts are unsupported.