- Automatically convert BloodHound Enterprise attack path findings into Cortex XSOAR incidents
- Attach remediation guidance and posture context to incidents
- Run playbooks and custom commands to analyze, triage, and remediate findings
- Automated incident creation with titles, descriptions, remediation guidance, impact/exposure metrics, severity, and domain/environment context
- Playbook linking per incident to run custom analysis commands
- Custom commands:
- Object ID lookup by name
- Asset information by object ID
- Path analysis between two nodes in the BloodHound graph
Prerequisites
Before installing and configuring the Cortex XSOAR integration, ensure that you have the following:- Cortex XSOAR instance with an admin account
- BloodHound Enterprise tenant
- BloodHound Enterprise API key/ID pair
We recommend a non-personal API key/ID pair.
Configure Cortex XSOAR
Set up the SpecterOps BloodHound Enterprise integration instance in Cortex XSOAR.Open integration instances
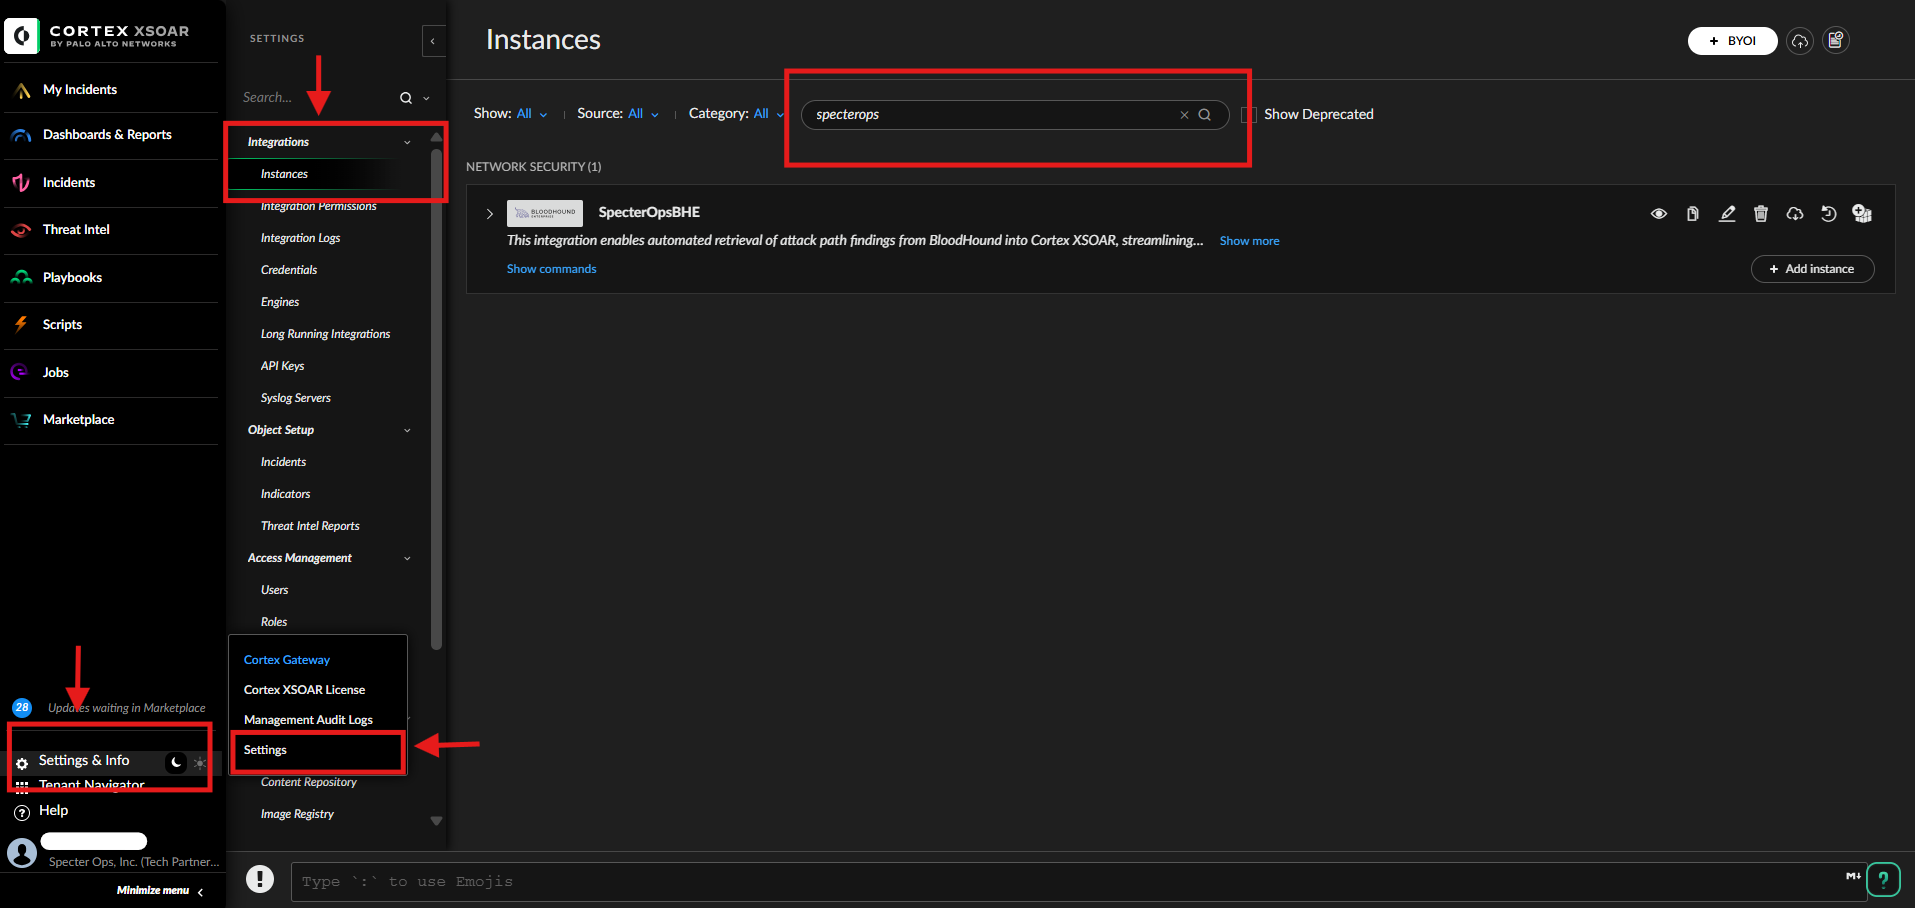
- Log in to your Cortex XSOAR instance.
-
Go to Settings & Info > Settings > Integrations > Instances.
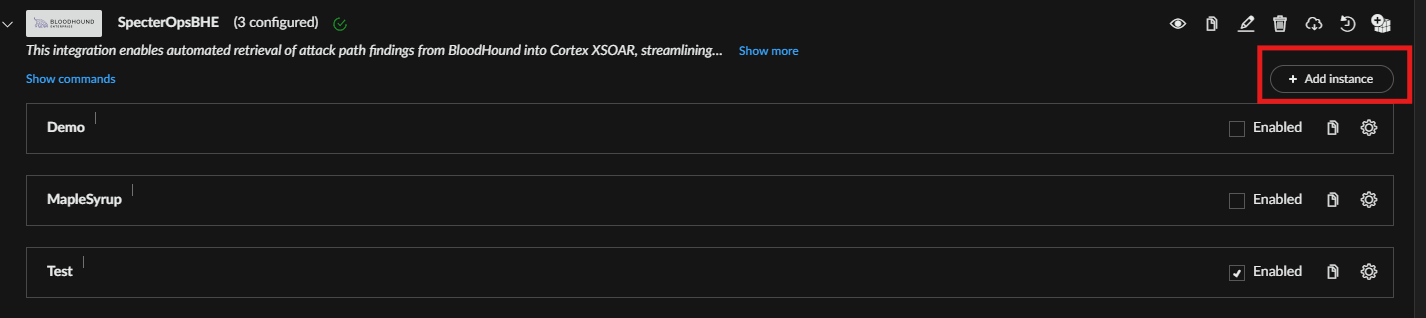
Add SpecterOpsBHE instance
- Search for the SpecterOps integration.
- Click Add Instance for the SpecterOpsBHE integration.
-
Configure settings.
Field Description Required? Name Instance display name (default can be modified) Yes BloodHound Enterprise Domain Your tenant domain, e.g., https://example.bloodhoundenterprise.ioYes Token ID API token ID from BloodHound Enterprise Yes Token Key API token key from BloodHound Enterprise Yes Proxy URL Proxy URL to reach BloodHound Enterprise No Proxy URL Username Username for proxy authentication No Proxy URL Password Password for proxy authentication No Finding Environment Scope findings to one environment No Finding Category Scope findings to one category No By default, Finding Environment and Finding Category are set to All.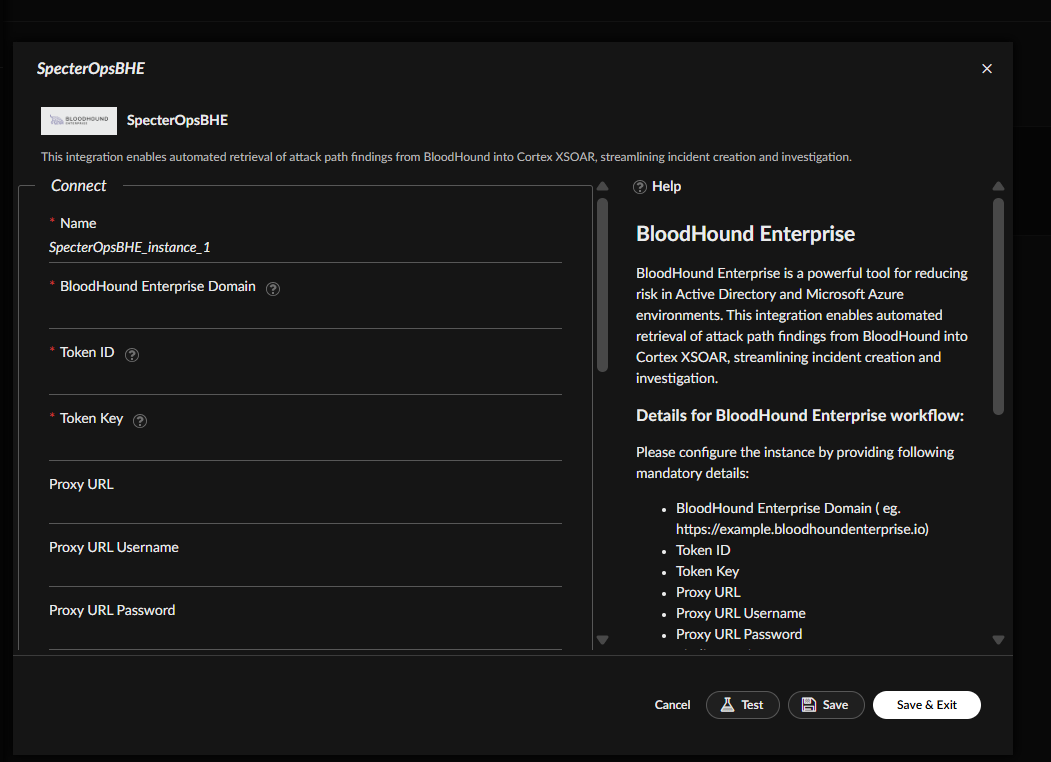
Enable fetching and schedule interval
- Check the Fetches incidents option (required).
- Set Incident Type to “SpecterOpsBHE Attack Path” (optional).
-
Set the Incidents Fetch Interval to your preferred schedule (required).
The default fetch interval is 10 minutes.
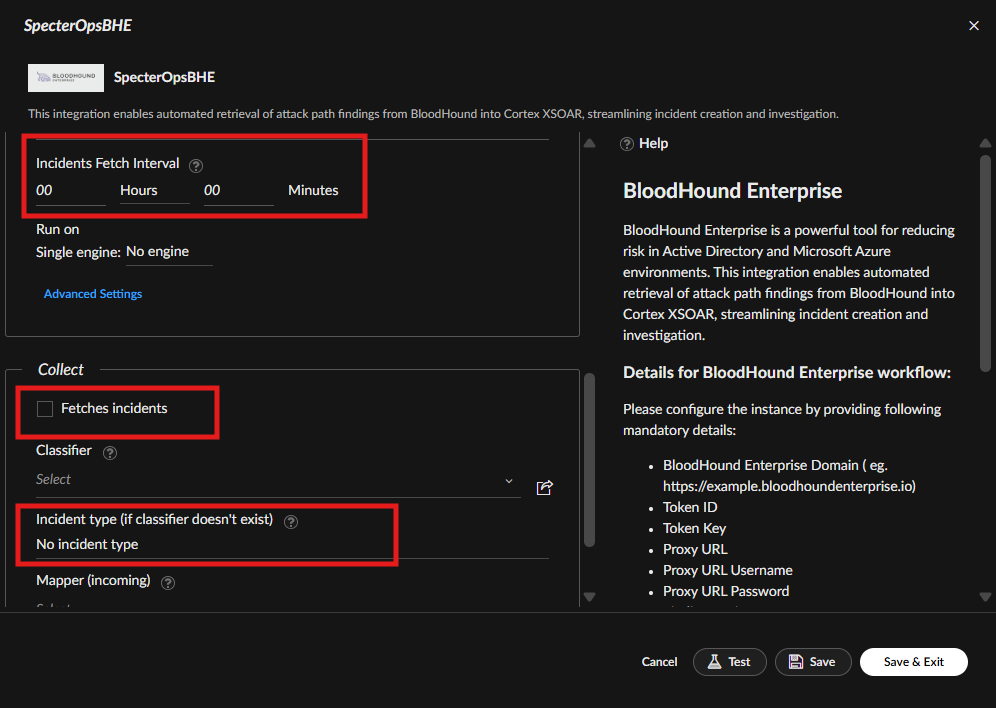
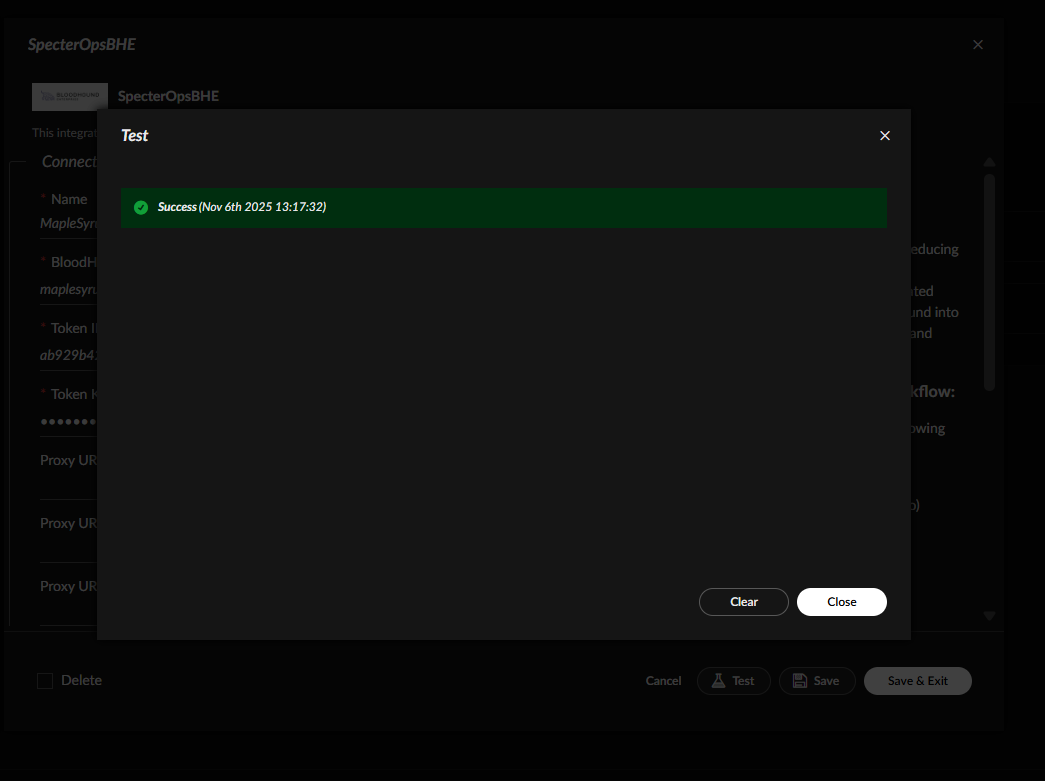
Test and save the configuration
- Click Test to verify connectivity and credentials.
-
Close the modal, then Save the instance.