> ## Documentation Index
> Fetch the complete documentation index at: https://bloodhound.specterops.io/llms.txt
> Use this file to discover all available pages before exploring further.
# Enable/Disable Multi-Factor Authentication
 ## Purpose
This article describes how to enable/disable Multi-Factor Authentication (MFA) for a BloodHound user configured for built-in authentication.
## Process
1. Log into your BloodHound tenant.
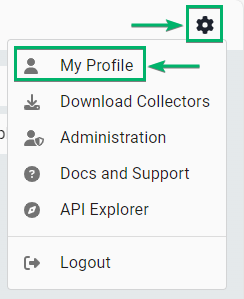
2. In the top right, click settings **My Profile**
## Purpose
This article describes how to enable/disable Multi-Factor Authentication (MFA) for a BloodHound user configured for built-in authentication.
## Process
1. Log into your BloodHound tenant.
2. In the top right, click settings **My Profile**
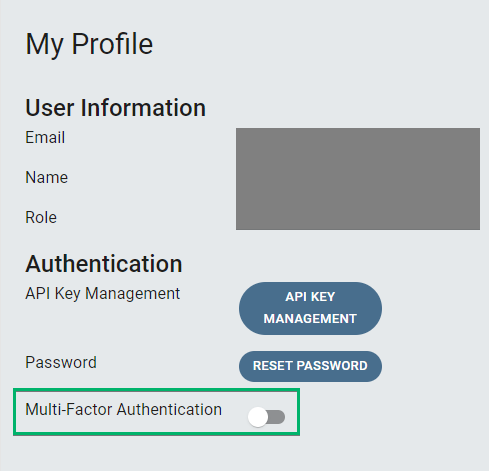
 3. Toggle the Multi-Factor Authentication switch
 4. Continue in one of the two headings below:
* Enabling MFA
* Disabling MFA
### **Enabling MFA**
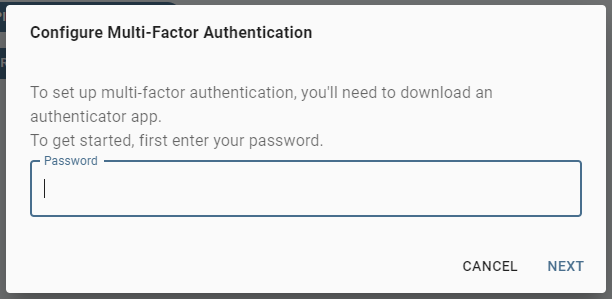
1. In the pop-up, confirm your user's password and click on **Next**
4. Continue in one of the two headings below:
* Enabling MFA
* Disabling MFA
### **Enabling MFA**
1. In the pop-up, confirm your user's password and click on **Next**
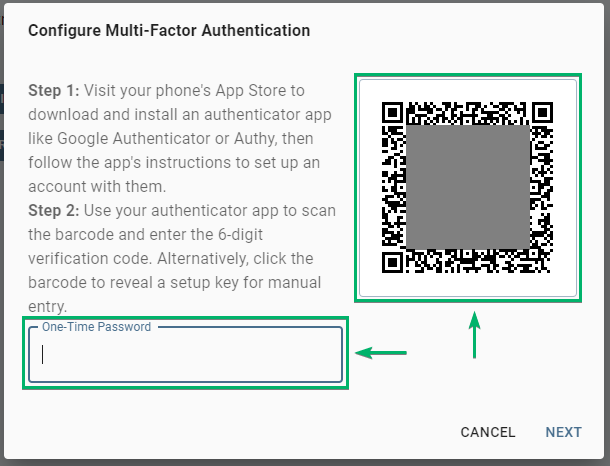
 2. Scan the QR code with your multi-factor authentication application, enter the 6-digit one-time password, and click **Next**
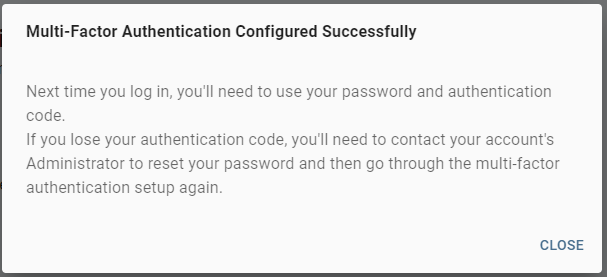
 3. Multi-factor authentication is now enabled, click **Close**
 ### **Disabling MFA**
1. In the pop-up, confirm your user's password and click on **Disable Multi-Factor Authentication**
### **Disabling MFA**
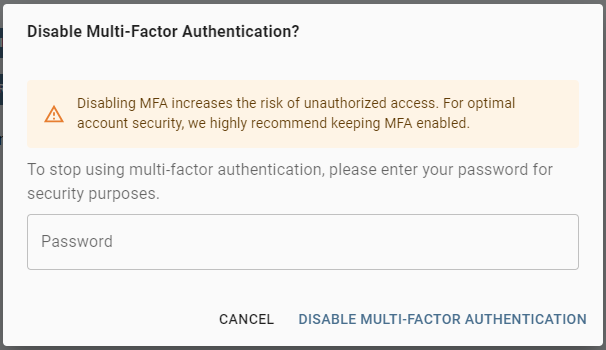
1. In the pop-up, confirm your user's password and click on **Disable Multi-Factor Authentication**
 2. Multi-factor authentication is now disabled
## Outcome
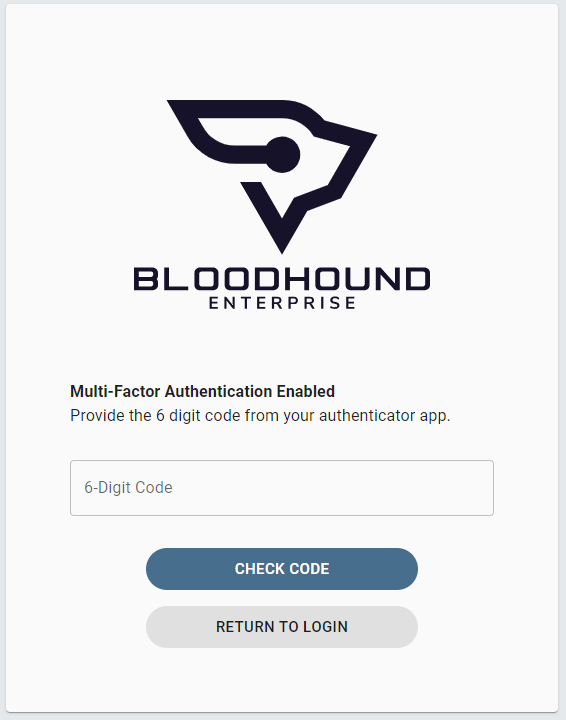
If enabling MFA, next time you log in, you'll need to use both your password and authentication code.
If you lose your authentication code device, you'll need to contact an Administrator of your BloodHound tenant who can reset your MFA configuration.
2. Multi-factor authentication is now disabled
## Outcome
If enabling MFA, next time you log in, you'll need to use both your password and authentication code.
If you lose your authentication code device, you'll need to contact an Administrator of your BloodHound tenant who can reset your MFA configuration.